User Registration - Django Tutorial
Hello and welcome to part 6 of the web development in Python with Django tutorials. In this tutorial, we're going to work on handling user accounts, which includes registering, logging in, and logging out. Along with this, we're also going to dynamically change the navigation bar to reflect if a user is logged in or not. Alright, let's get to it!
To begin, we need some way to create users. We can actually manually create users now in our Admin page, but of course we probably don't want to do that for every user on our website. Django already has a User model, which you may find is enough for you, or you can extend it later. Checking it out:
$ python3 manage.py shell
Python 3.7.2 (v3.7.2:9a3ffc0492, Dec 24 2018, 02:44:43)
[Clang 6.0 (clang-600.0.57)] on darwin
Type "help", "copyright", "credits" or "license" for more information.
(InteractiveConsole)
>>> from django.contrib.auth.models import User
>>> dir(User)
['DoesNotExist', 'EMAIL_FIELD', 'Meta', 'MultipleObjectsReturned', 'REQUIRED_FIELDS', 'USERNAME_FIELD', '__class__', '__delattr__', '__dict__', '__dir__', '__doc__', '__eq__', '__format__', '__ge__', '__getattribute__', '__getstate__', '__gt__', '__hash__', '__init__', '__init_subclass__', '__le__', '__lt__', '__module__', '__ne__', '__new__', '__reduce__', '__reduce_ex__', '__repr__', '__setattr__', '__setstate__', '__sizeof__', '__str__', '__subclasshook__', '__weakref__', '_check_column_name_clashes', '_check_field_name_clashes', '_check_fields', '_check_id_field', '_check_index_together', '_check_indexes', '_check_local_fields', '_check_long_column_names', '_check_m2m_through_same_relationship', '_check_managers', '_check_model', '_check_model_name_db_lookup_clashes', '_check_ordering', '_check_property_name_related_field_accessor_clashes', '_check_single_primary_key', '_check_swappable', '_check_unique_together', '_do_insert', '_do_update', '_get_FIELD_display', '_get_next_or_previous_by_FIELD', '_get_next_or_previous_in_order', '_get_pk_val', '_get_unique_checks', '_meta', '_password', '_perform_date_checks', '_perform_unique_checks', '_save_parents', '_save_table', '_set_pk_val', 'check', 'check_password', 'clean', 'clean_fields', 'date_error_message', 'date_joined', 'delete', 'email', 'email_user', 'first_name', 'from_db', 'full_clean', 'get_all_permissions', 'get_deferred_fields', 'get_email_field_name', 'get_full_name', 'get_group_permissions', 'get_next_by_date_joined', 'get_previous_by_date_joined', 'get_session_auth_hash', 'get_short_name', 'get_username', 'groups', 'has_module_perms', 'has_perm', 'has_perms', 'has_usable_password', 'id', 'is_active', 'is_anonymous', 'is_authenticated', 'is_staff', 'is_superuser', 'last_login', 'last_name', 'logentry_set', 'natural_key', 'normalize_username', 'objects', 'password', 'pk', 'prepare_database_save', 'refresh_from_db', 'save', 'save_base', 'serializable_value', 'set_password', 'set_unusable_password', 'unique_error_message', 'user_permissions', 'username', 'username_validator', 'validate_unique']
>>>
Noting some of those attributes, we can see there are fields for username, email, names...etc. We might not need an email for example, or names, which is fine. We'll see how we can use just what we need for this model (which you could apply to any model, really).
I tend to think in order of events that a user will go through, so my first thought is to create the actual registration page, the template. So I'll start there, but just remember with any new page that you need to consider the M, V, and C (model, view, and controller)!
So let's go into main's templates, and copy the home.html file and call the copy register.html, modifying it to be:
{% extends 'main/header.html' %}

{% block content %}

    <form method="POST">
        {% csrf_token %}
        {{form}}
    </form>

    If you already have an account <a href="/login" target="blank"><strong>login</strong></a> instead.

{% endblock %}
Alright, some basics here, the form tag just denotes that there will be a form, and the method means this will create a POST request (meaning data will be submitted), as opposed to a GET request where the hope is to get some data in return.
Next, we have
{% csrf_token %}
This is a special token aimed at combatting something called Cross Site Request Forgery, which you can learn more about here: Cross-Site Request Forgery (CSRF).
Next, we just have a simple form variable, which you should be able to guess is going to be passed as context into this template. Finally, we just have a bit of text in case the user miss-clicked to signup, and just needs to go to login instead.
Great, we have our template, now we need to code the view that was render it. Let's head to mysite/main/views.py
We will call this function register. While we could build this form, we can also import the user creation form:
from django.contrib.auth.forms import UserCreationForm
Then build the register function:
def register(request):
    form = UserCreationForm
    return render(request = request,
                  template_name = "main/register.html",
                  context={"form":form})
Okay, the template is done, the view is done. That's the model and the view boxes checked. All that's left is the controller! Head to mysite/main/urls.py and let's add that now!
We just need to add the path:
path("/register", views.register, name="register"),
Full file:
from django.urls import path
from . import views


app_name = 'main'  # here for namespacing of urls.

urlpatterns = [
  path("", views.homepage, name="homepage"),
  path("register/", views.register, name="register"),
]
Are we done? I think we're done! Let's click on register in the navbar!
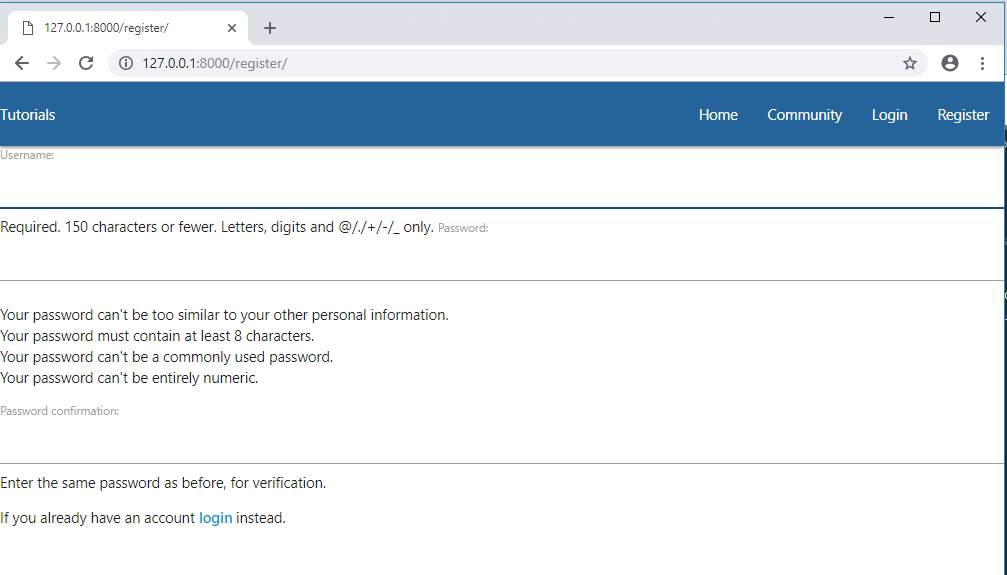
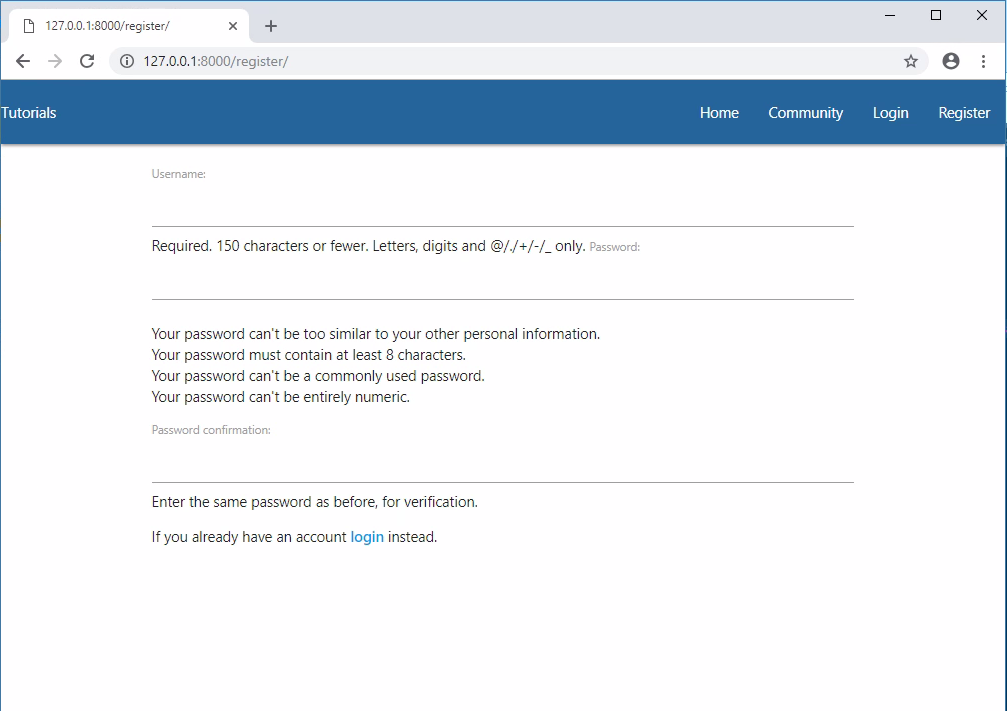
Okay, we're off to a decent start. I wish the form was not right up to the left edge like that though. Let's fix that by putting the body content in a container div.
mysite/main/templates/main/header.html
...
  <div class="container">
    {% block content %}
    {% endblock %}
  </div>
...
Then maybe a break or two in the register.html
{% extends 'main/header.html' %}

{% block content %}
    <br>
    <form method="POST">
        {% csrf_token %}
        {{form}}
    </form>

    If you already have an account <a href="/login" target="blank"><strong>login</strong></a> instead.

{% endblock %}
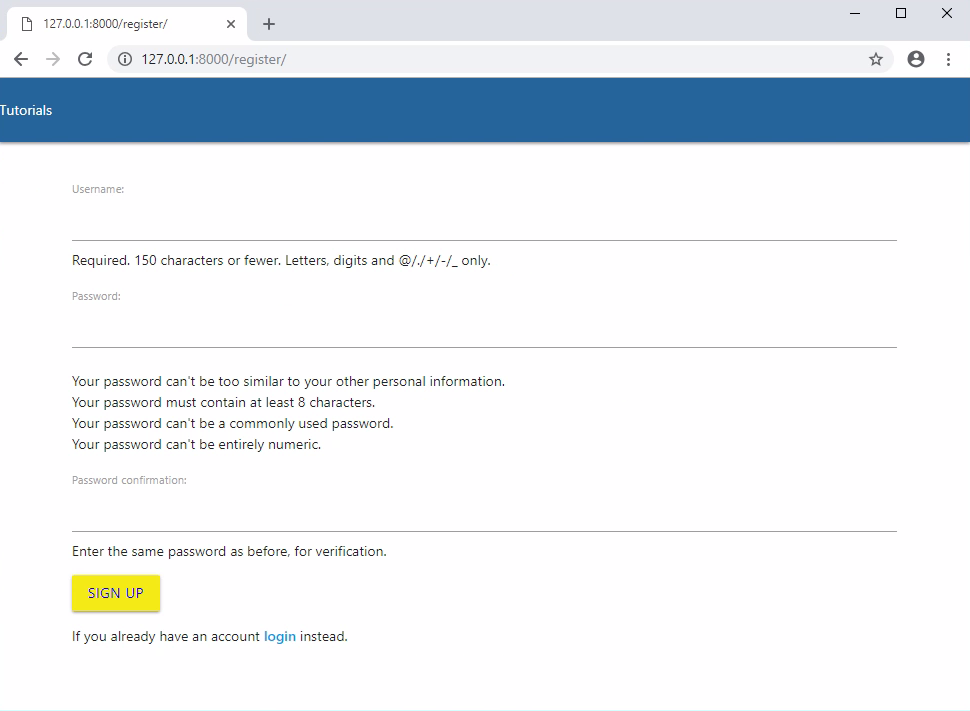
Great, but the form doesn't actually do anything, so let's change that next!
Inside our form tags, let's add a submit button:
<button style="background-color:#F4EB16; color:blue" class="btn btn-outline-info" type="submit">Sign Up</button>
So now our full mysite/main/templates/main/register page is:
{% extends 'main/header.html' %}

{% block content %}

    <div class="container">
        <form method="POST">
            {% csrf_token %}
            {{form.as_p}}

            <button style="background-color:#F4EB16; color:blue" class="btn btn-outline-info" type="submit">Sign Up</button>

        </form>

        If you already have an account <a href="/login" target="blank"><strong>login</strong></a> instead.
    </div>
{% endblock %}
Next, forms have various attributes that we can use:
as_p- paragraph tagsas_table- as a tableas_ul- as an unordered list
You might not have noticed, but our form is a little confusing at the first passowrd, it's hard to tell what goes there at a quick glance. let's instead set our form as_p to remedy this. Full page:
{% extends 'main/header.html' %}

{% block content %}
    <br>
    <form method="POST">
        {% csrf_token %}
        {{form.as_p}}
        <button style="background-color:#F4EB16; color:blue" class="btn btn-outline-info" type="submit">Sign Up</button>
    </form>

    If you already have an account <a href="/login" target="blank"><strong>login</strong></a> instead.

{% endblock %}
Now that our form has a submit button, we can fill out the form, try to sign up... but nothing happens? Well, right now our registration page has no handling for when there's a POST request, so it's actually just reloading the registration page. Where might we need to edit in order to handle for this type of request?
We can handle for specific requests and other types of logic from within our views.py, under the register function that we've started.
The very first thing we should do is check to see if the request made to this page has been a POST:
if request.method == "POST":
If it has, then we're going to map the submitted form to the UserCreationForm:
form = UserCreationForm(request.POST)
If the form is valid, then we just save this new User object (which is part of the form, so we save the form)
user = form.save()
This will save the user, but, in general, it's nice if the user just registered to also log them in so they don't need to re-type things again. To do this, we can just use Django's login function which we can grab from django.contrib.auth, which also gives use logout, and authenticate...all of which we'll need, so let's grab all three with:
from django.contrib.auth import logout, authenticate, login
So now we can log in the user with:
            username = form.cleaned_data.get('username')
            login(request, user)
Now we just want to send the user to the homepage. While we could just...render...the homepage now, we also need to change the URL, and, since we're actually sending them to the homepage, we want to redirect them there now. Add redirect to your imports from django.shortcuts:
from django.shortcuts import render, redirect
So now we can just do:
return redirect("main:homepage")
This will look in urls.py for the app_name called main (recall we did this with: app_name = 'main' ), then it finds the url with the name of "homepage." So now our full register function is:
def register(request):
  if request.method == "POST":
        form = UserCreationForm(request.POST)
        if form.is_valid():
            user = form.save()
            username = form.cleaned_data.get('username')
            login(request, user)
            return redirect("main:homepage")

    form = UserCreationForm
    return render(request = request,
                  template_name = "main/register.html",
                  context={"form":form})
In some cases, the form wont be valid for whatever reason, however, so we also need to handle for that:
def register(request):
    if request.method == "POST":
        form = UserCreationForm(request.POST)
        if form.is_valid():
            user = form.save()
            username = form.cleaned_data.get('username')
            login(request, user)
            return redirect("main:homepage")

        else:
            for msg in form.error_messages:
                print(form.error_messages[msg])

            return render(request = request,
                          template_name = "main/register.html",
                          context={"form":form})

    form = UserCreationForm
    return render(request = request,
                  template_name = "main/register.html",
                  context={"form":form})
Now, we can register another user, then they're sent back to the homepage!
Full views.py just in case you're missing something:
from django.shortcuts import render, redirect
from .models import Tutorial
from django.contrib.auth.forms import UserCreationForm, AuthenticationForm
from django.contrib.auth import logout, authenticate, login


# Create your views here.
def homepage(request):
    return render(request = request,
                  template_name='main/home.html',
                  context = {"tutorials":Tutorial.objects.all})

def register(request):
    if request.method == "POST":
        form = UserCreationForm(request.POST)
        if form.is_valid():
            user = form.save()
            username = form.cleaned_data.get('username')
            login(request, user)
            return redirect("main:homepage")

        else:
            for msg in form.error_messages:
                print(form.error_messages[msg])

            return render(request = request,
                          template_name = "main/register.html",
                          context={"form":form})

    form = UserCreationForm
    return render(request = request,
                  template_name = "main/register.html",
                  context={"form":form})
So now we've found ourselves at a point where we need something more than a print statement for information. There's nothing to inform the user once they've logged in, and there's nothing to tell us that we've done something wrong if we have. This is where messaging comes in, which is what we'll be talking about in the next tutorial, along with some other changes for the user on login.
-
Django Web Development with Python Introduction
-
Models - Django Tutorial
-
Admin and Apps - Django Tutorial
-
Views and Templates - Django Tutorial
-
CSS - Django Tutorial
-
User Registration - Django Tutorial
-
Messages - Django Tutorial
-
User Login and Logout - Django Tutorial
-
Foreign Keys with Models - Django Tutorial
-
Working with Foreign Keys - Django Tutorial
-
Dynamic sidebar - Django Tutorial
-
Deploying to a Server - Django Tutorial
