Screen Manager for Multiple Screens
In this Kivy tutorial, we cover the Kivy Screen Manager. Any medium to large application is going to have multiple windows. Even if it is something as simple as a login screen that leads to a home screen that allows you to visit a settings screen, you are going to need a way to move to and from the screens.
Kivy works bit like Tkinter, where you just simply bring the main screen to the foreground, but, luckily for us, Kivy does this for us much easier than Tkinter does!
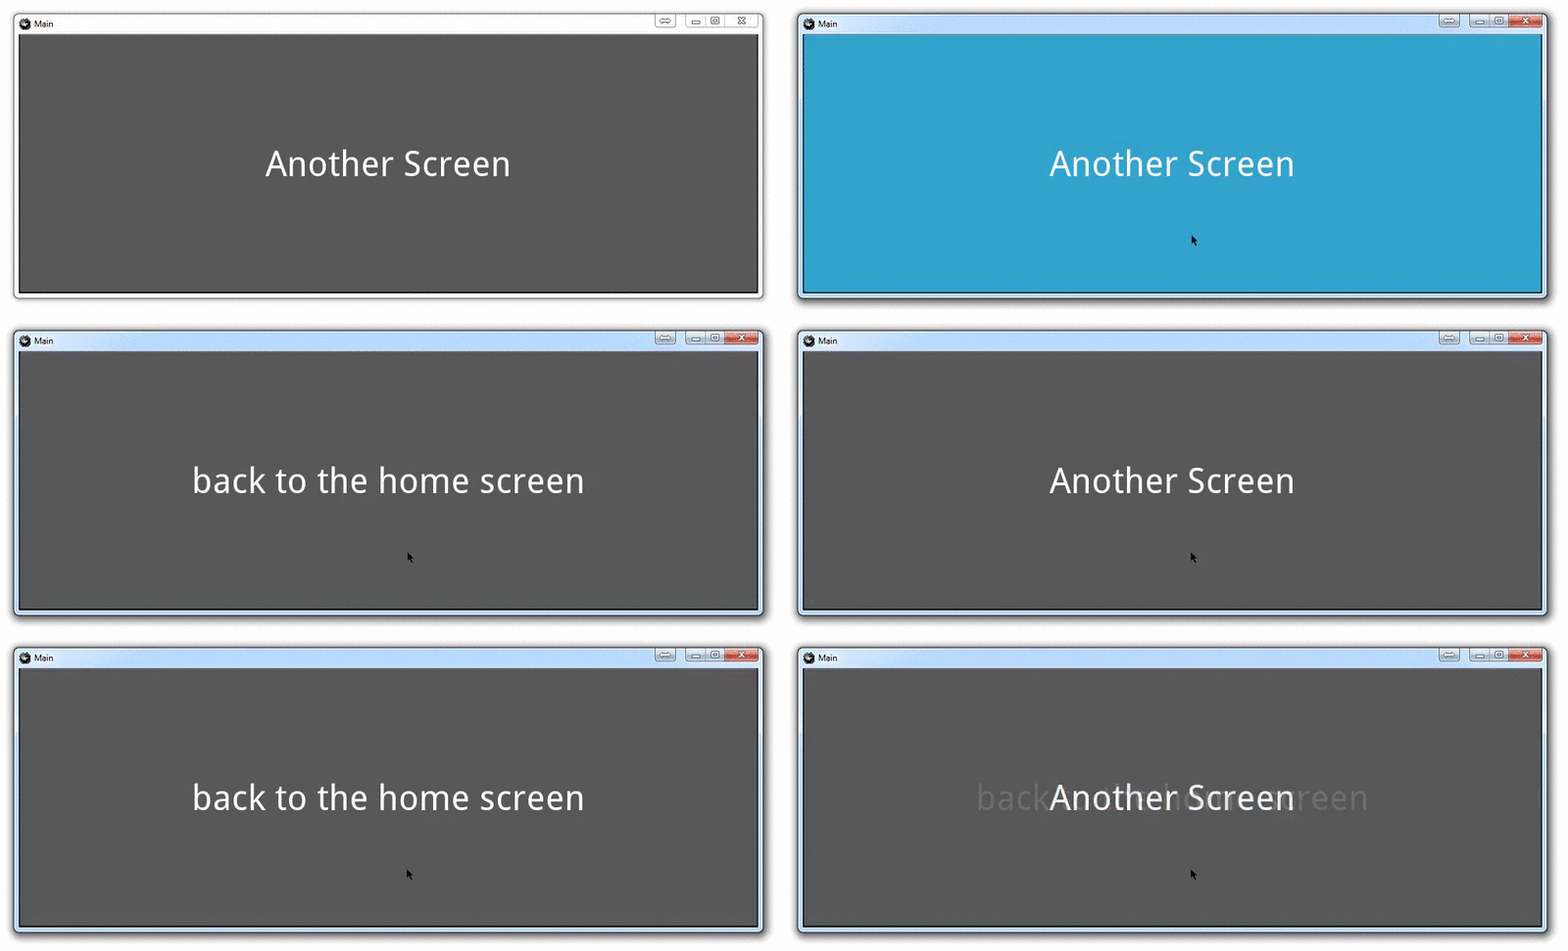
We can use the Screen Manager to store the possible screens, and bring the current screen to the front for the viewer. Not only this, but Kivy also has some basic transitions to make the movement between screens feel a bit better to the user. We'll use the "fade transition" here.
First, let's write our python file:
from kivy.app import App
from kivy.lang import Builder
from kivy.uix.screenmanager import ScreenManager, Screen, FadeTransition

class MainScreen(Screen):
    pass

class AnotherScreen(Screen):
    pass

class ScreenManagement(ScreenManager):
    pass

presentation = Builder.load_file("main.kv")

class MainApp(App):
    def build(self):
        return presentation

MainApp().run()
Above, we're now importing the ScreenManager, Screen, and the FadeTransition that we intend to use
Next, we create our MainScreen class, and our AnotherScreen class. These will be the two "screens" for our application.
Then we create the ScreenManagement class, which will inhereit from the ScreenManager class. We're going to use this class for the screen management.
The rest of the code is the same as previous tutorials up to this point.
Now we visit the .kv file, which we've explicitly called main.kv in our python script.
ScreenManagement:
    transition: FadeTransition()
    MainScreen:
    AnotherScreen:

<MainScreen>:
    name: 'main'

    Button:
        on_release: app.root.current = 'other'
        text: 'Another Screen'
        font_size: 50

<AnotherScreen>:
    name: 'other'

    Button:
        on_release: app.root.current = 'main'
        text: 'back to the home screen'
        font_size: 50
Here, we define the screen manager as a parent, giving it the FadeTransition type, and assigning our two screens to it.
After this, we add our screen parents. Within those, we give each one a name. This name is an associative name that we can reference in the screen manager in order to switch to it.
Next, we add a button in both screens, leading to the other screen. The buttons have parameters that we've already seen so far, except for the on_release parameter.
On_release allows us to write some code when the button is released. In this case, we're asking the app.root to change the current attribute to the other page. app.root references the ScreenManagement class, which inherits from the ScreenManager, which is where we get the ".current" method.
With this, you should have a resulting program that knows to switch screens with the click of a button.

-
Kivy with Python tutorial for Mobile Application Development Part 1
-
Kivy Widgets and Labels
-
The Kivy .kv Language
-
Kivy .kv Language cont'd
-
Dynamic Resizable Placement
-
Layouts: Float Layout
-
Getting Mouse / Press / Touch Input
-
Simple Drawing Application
-
Builder for loading .kv Files
-
Screen Manager for Multiple Screens
-
Drawing Application with Screen Manager
-
Adding better Navigation
