Forward and Reverse
import RPi.GPIO as gpio
import time


def init():
    gpio.setmode(gpio.BOARD)
    gpio.setup(7, gpio.OUT)
    gpio.setup(11, gpio.OUT)
    gpio.setup(13, gpio.OUT)
    gpio.setup(15, gpio.OUT)
    gpio.output(7, True)
    gpio.output(11, True)

def forward(tf):
    gpio.output(13, True)
    gpio.output(15, False)
    time.sleep(tf)

def reverse(tf):
    gpio.output(13, False)
    gpio.output(15, True)
    time.sleep(tf)


init()
forward(0.5)
reverse(0.5)

gpio.cleanup()
Here's our script with a bit more built up. First, we have an init() function, which stands for initialization.
The init function sets up all of the pins that we are using.
Next, we define our forward and reverse functions. What these functions are going to do is initiate the proper changes to make the wheels go either forward, or reverse, depending on our goals.
Finally, after defining our functions, we call a quick init(), then ask the forward and reverse functions to run for 0.5 seconds. After this, we use gpio.cleanup() to cease the pins form being activated.
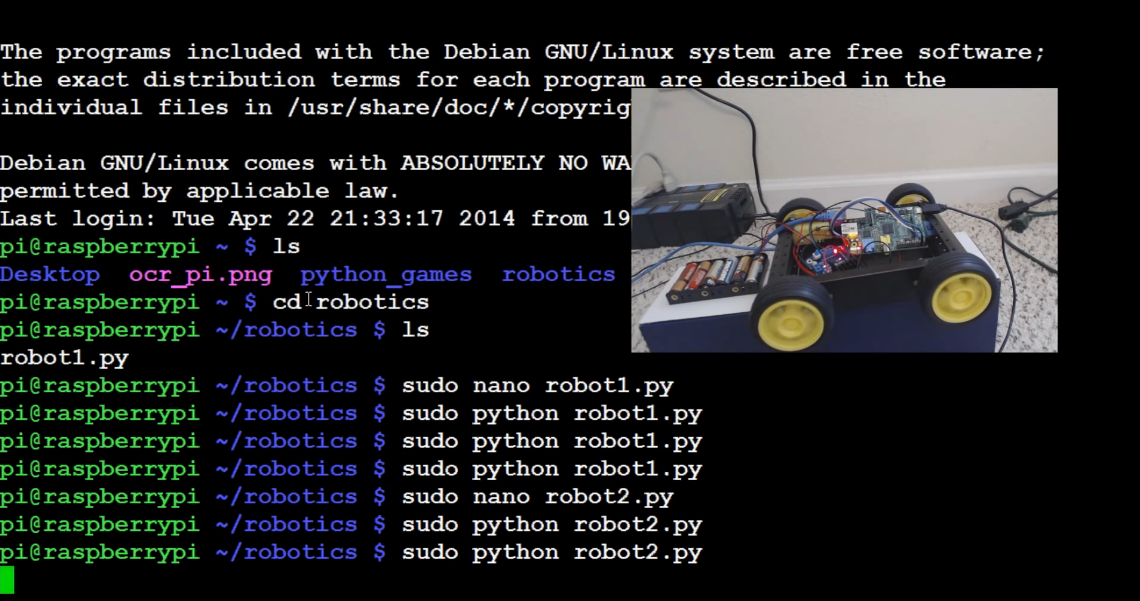
We are saving this script as robot2.py
To run:
sudo python robot2.py
That's all for forward and reverse, how about figuring out how to turn our car?
There exists 1 quiz/question(s) for this tutorial. for access to these, video downloads, and no ads.
-
Robotics with the Raspberry Pi
-
Programming GPIO example
-
Running GPIO
-
Building Autonomous / RC car intro
-
Supplies needed
-
Motor Control
-
Connecting the four motors
-
Forward and Reverse
-
Turning
-
Pivoting
-
User Control
-
Remotely controlling the car
-
Adding a distance sensor (HC-SR04)
-
Programming with the distance sensor
-
Autopilot and/or auto-correct
-
Autonomous Beginnings
-
Testing Autonomous Code
-
Streaming video example one
-
Less latency streaming option
