Incorporating Variables and some Logic
In this Flask web development tutorial with Python, we cover the addition of Flask variables in your HTML, templates, and some logic.
The idea here is that we can use Python to generate variables that appear in our pages. Take a table, for example, with values in it that correspond to prices of items in a store. We want this table to be dynamic to the changing prices in our database, so we'd want to fill the table with variables rather than having to manually edit the HTML every time a price changes.
To do this, we're also using templates, which are HTML code that act as "Templates" for our website. Templates contain a bunch of HTML code that we expect to use often with our site, with some variable and dynamic aspects that differentiate between pages. The most basic form of template is one that contains everything from your navigation bar and up. Since this should usually remain identical on every page of your site, this would be an example of what you would want to template.
We also cover using try-except for error handling. It can be useful to have the exceptions logging the errors in a log file at the very least.
First up, a quick example of try-except returning a string from the exception:
  from flask import Flask,render_template

app = Flask(__name__)

@app.route('/')
def homepage():
    try:
        x += 5
        return "Hi there"
    except Exception, e:
        return str(e)

if __name__ == "__main__":
    app.run()
The above will return the error that x is not defined in the browser, rather than an HTTP error. You can use this to handle some of the errors on your page. I wouldn't recommend actually displaying the error to the page, but you can instead log the errors to a file, or send yourself an email that an error occurred and some information about it. There are custom HTML error handling options with Flask that we'll cover later as well, like 404 not found. It is not a good idea to display errors to the user in the browser, as this can often give direct insight into the inner-workings of your website. To the typical user, this is okay, but displaying this data to a hacker, who might be purposefully causing these errors, this can be very bad.
Next up, templates.
In your templates directory, add the following as "index.html"
<!DOCTYPE html>
<html lang="en">

<head>

</head>

<body class="body">
	<header>

	</header>
	 <body>
	   <h3>{{ title }}</h3>
	   <br>
		{% for p in paragraph %}
		<p>{{ p }}</p>
		{% endfor %}
	 </body>

</html>
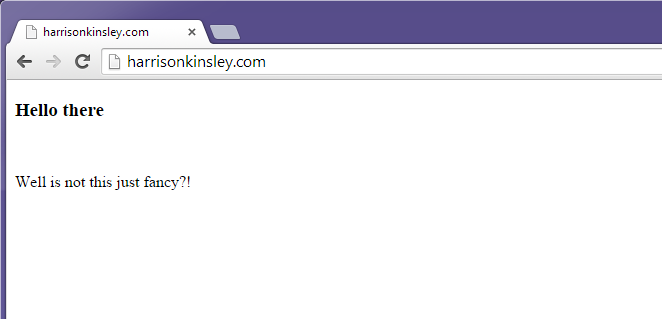
See the {{ title }} ? This is how we can pass variables from Python to our HTML page. So, the double curly braces denote variables. You'll see how we pass them to the index page, but they are passed as function parameters.
Next, you can see the:
        {% for p in paragraph %}
		<p>{{ p }}</p>
	{% endfor %}
Whenever you see the curly braces with percent symbols, it means a statement is being invoked. In this case, a for loop. We can also do if, else, and elif very easily. Take note, however, that we are required to use "end" statements too. HTML does not work like Python does in the sense that tabs denote blocks of code. Without explicitly stating where the end of the loop or statement is, you will find yourself with an error.
If you're following along via the videos, make sure you watch both, there are two videos on this subject before we get into Bootstrap.
