Building and Programming a Quadcopter/multicopter introduction
Hello and welcome to a tutorial series covering how to build a quadcopter. First, we'll be going over the parts and putting together a quadcopter/multicopter, and then we will be talking about using a Raspberry Pi with various sensors and peripherals on the quadcopter. Even if you do not have any interest in putting a Raspberry Pi computer on your quadcopter, the first few tutorials are purely aimed at putting together a quadcopter and flying it with a transmitter. The quadcopter we'll be building:
To start, why might you want to custom build a quadcopter or drone as opposed to simply going to the store and buying one. First, when tinkering with things, you're more likely to break it, fry it, or, in our case: crash it! The issue here is that commercially available drones tend to come with a lot of proprietary parts. What this really means usually is that the company has a monopoly on those specific parts and they charge as such. Also, as you decide to change things, if you have custom built your quadcopter, you can switch out motors, propellers, a frame, and all sorts of things easily with a custom build.
Despite it likely being a better choice to build a quadcopter, it can be quite the hurdle to figure out all of the things you need and how to put one together. If you're like me when I first started, you don't know that not all motors spin in the same direction, for example.
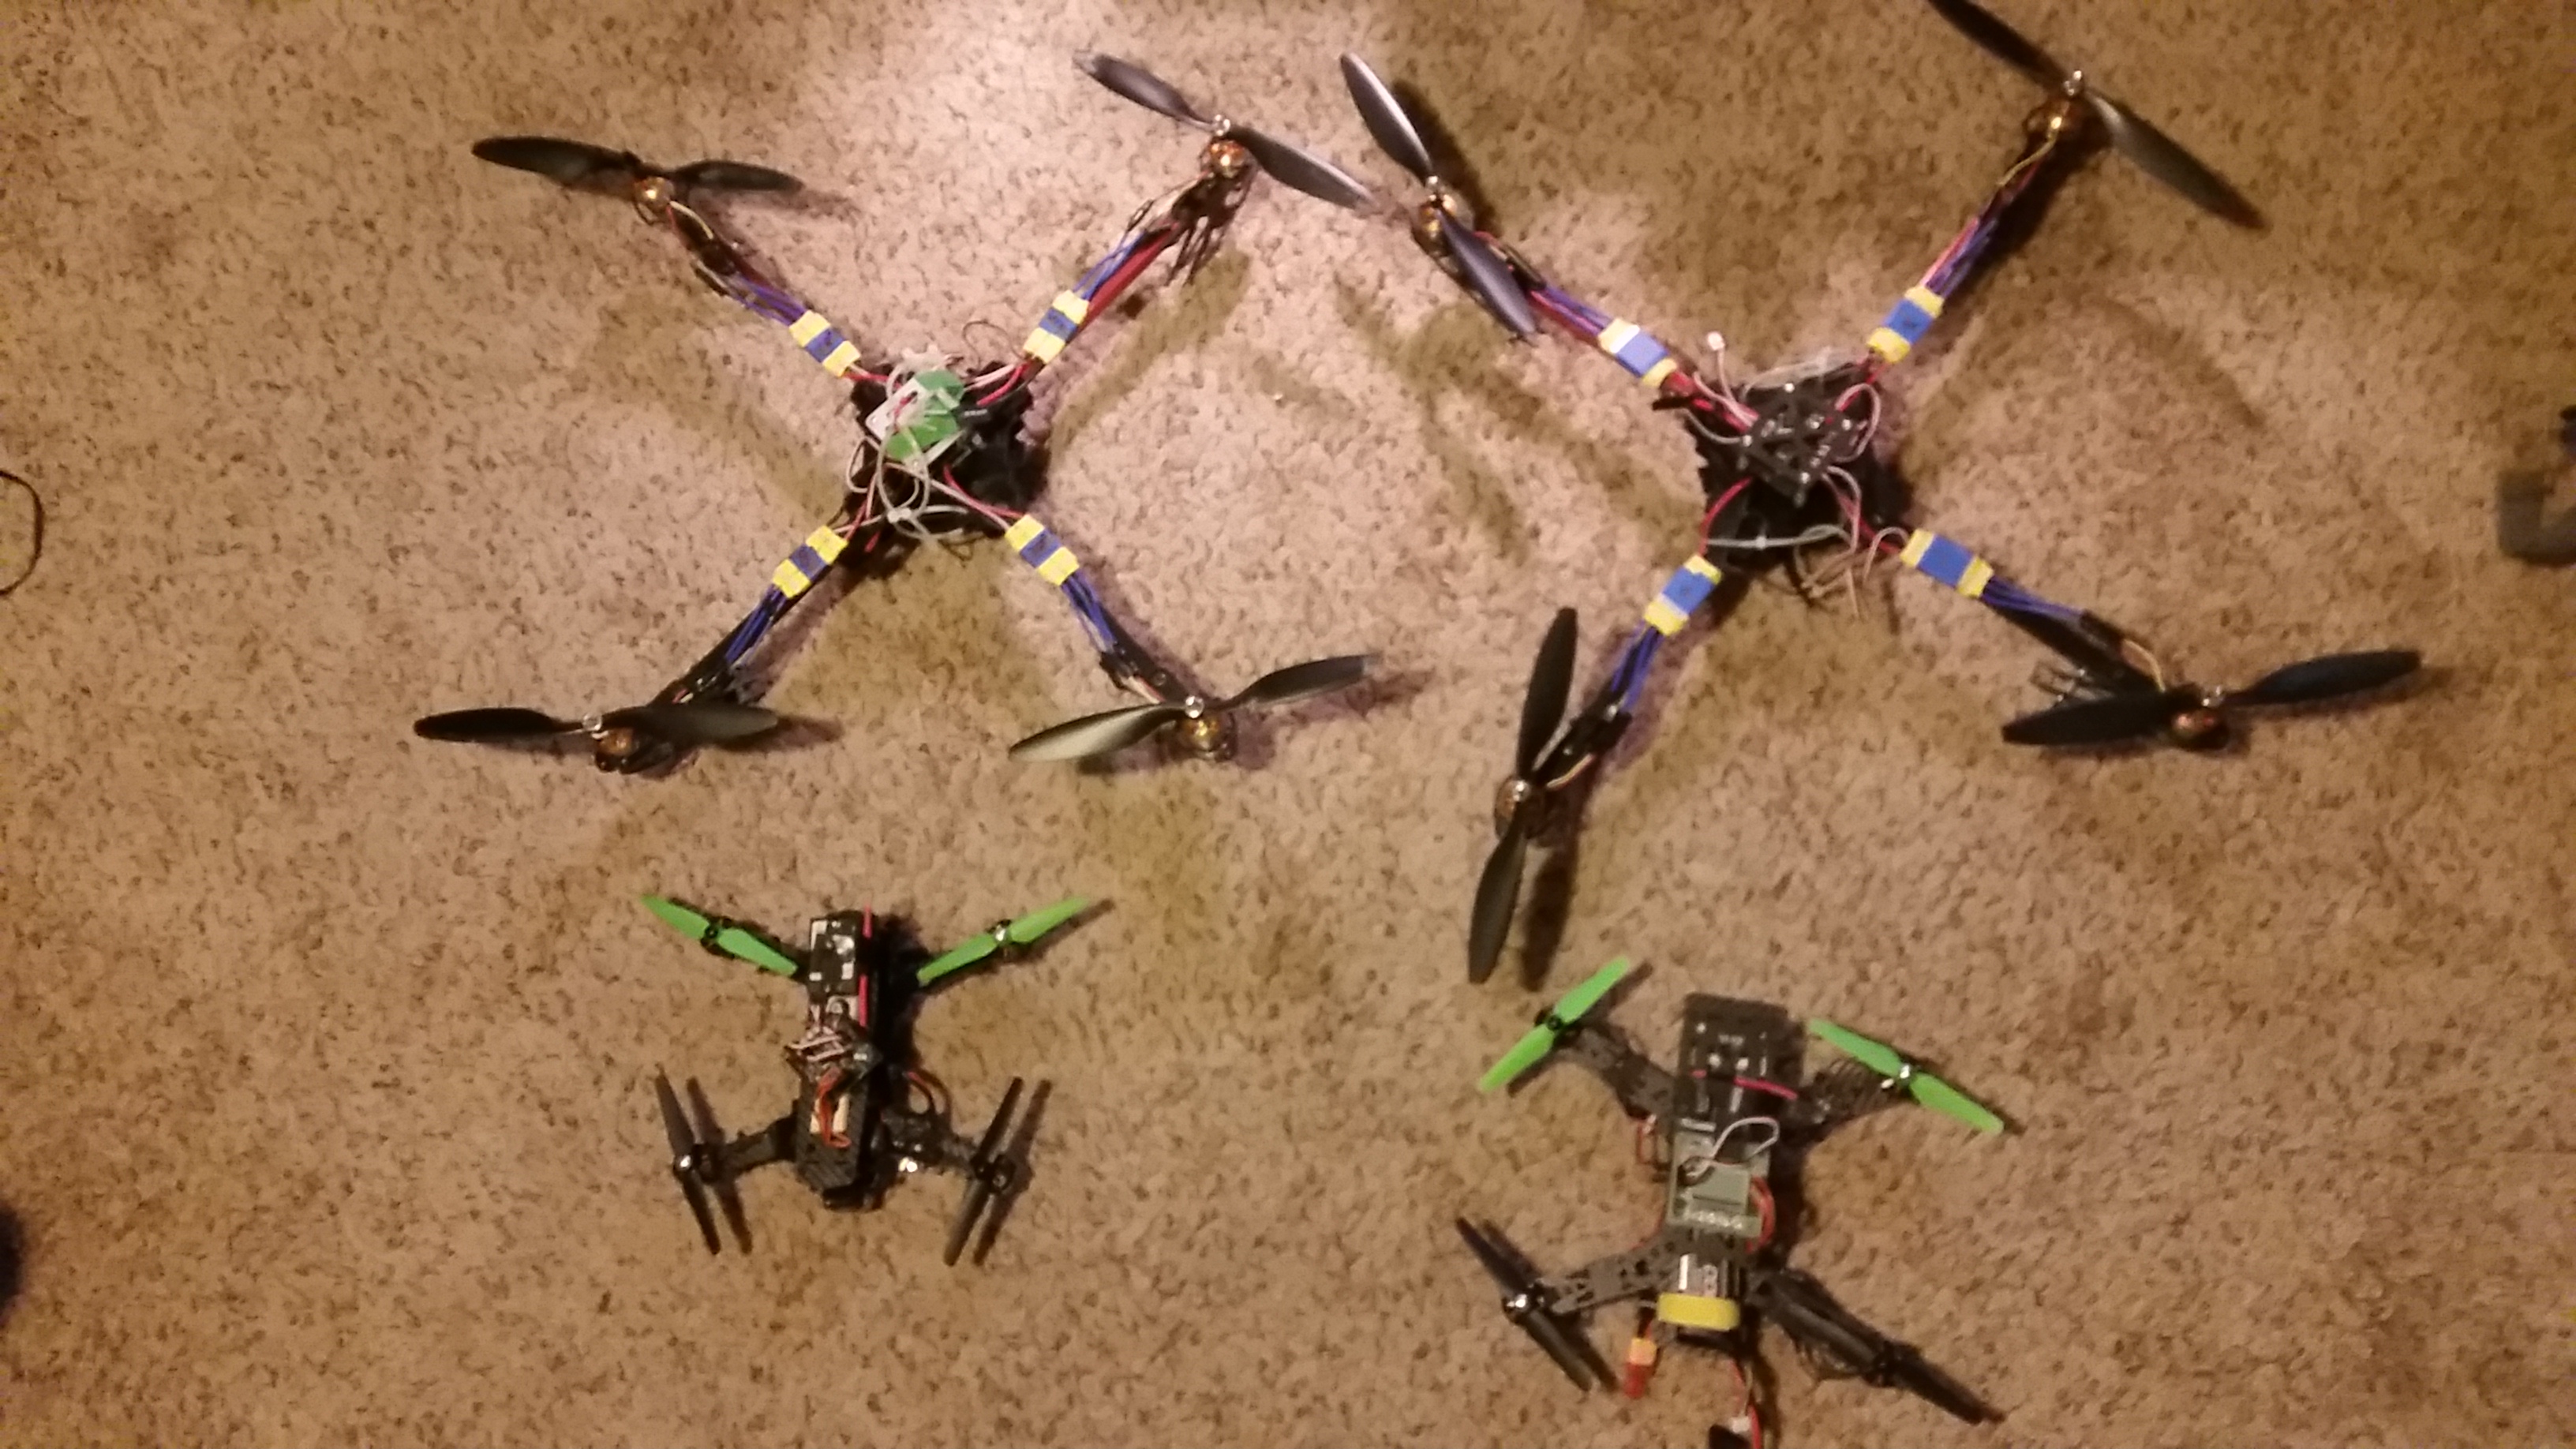
The first choice you have to make is what size of quadcopter / drone you want to make. There are various sizes, but the most popular size is the 250 for custom quadcopters, and then 500ish for the commercial drones. The number corresponds to the distance, diagonally between the motors. At first, I chose to go with a 525, but the 525 is quite large, and not as much fun to fly in my opinion. It does more damage if it does crash, and requires a bit more space to safely fly around. The 250 size is a total blast to fly, much easier to do very quick maneuvers with, and doesn't need as much space to fly safely. A 500 is not double the size of a 250, it is more like 4x the size, so keep this in mind. In this tutorial, we'll wind up building a 250, but feel free to build whatever size you want. The actual needed materials and build process is the same. Costs are also ~ the same, so it really does not matter beyond personal preference. Here's an example of the the sizes:
The top 2 are 525, the bottom two are size 250
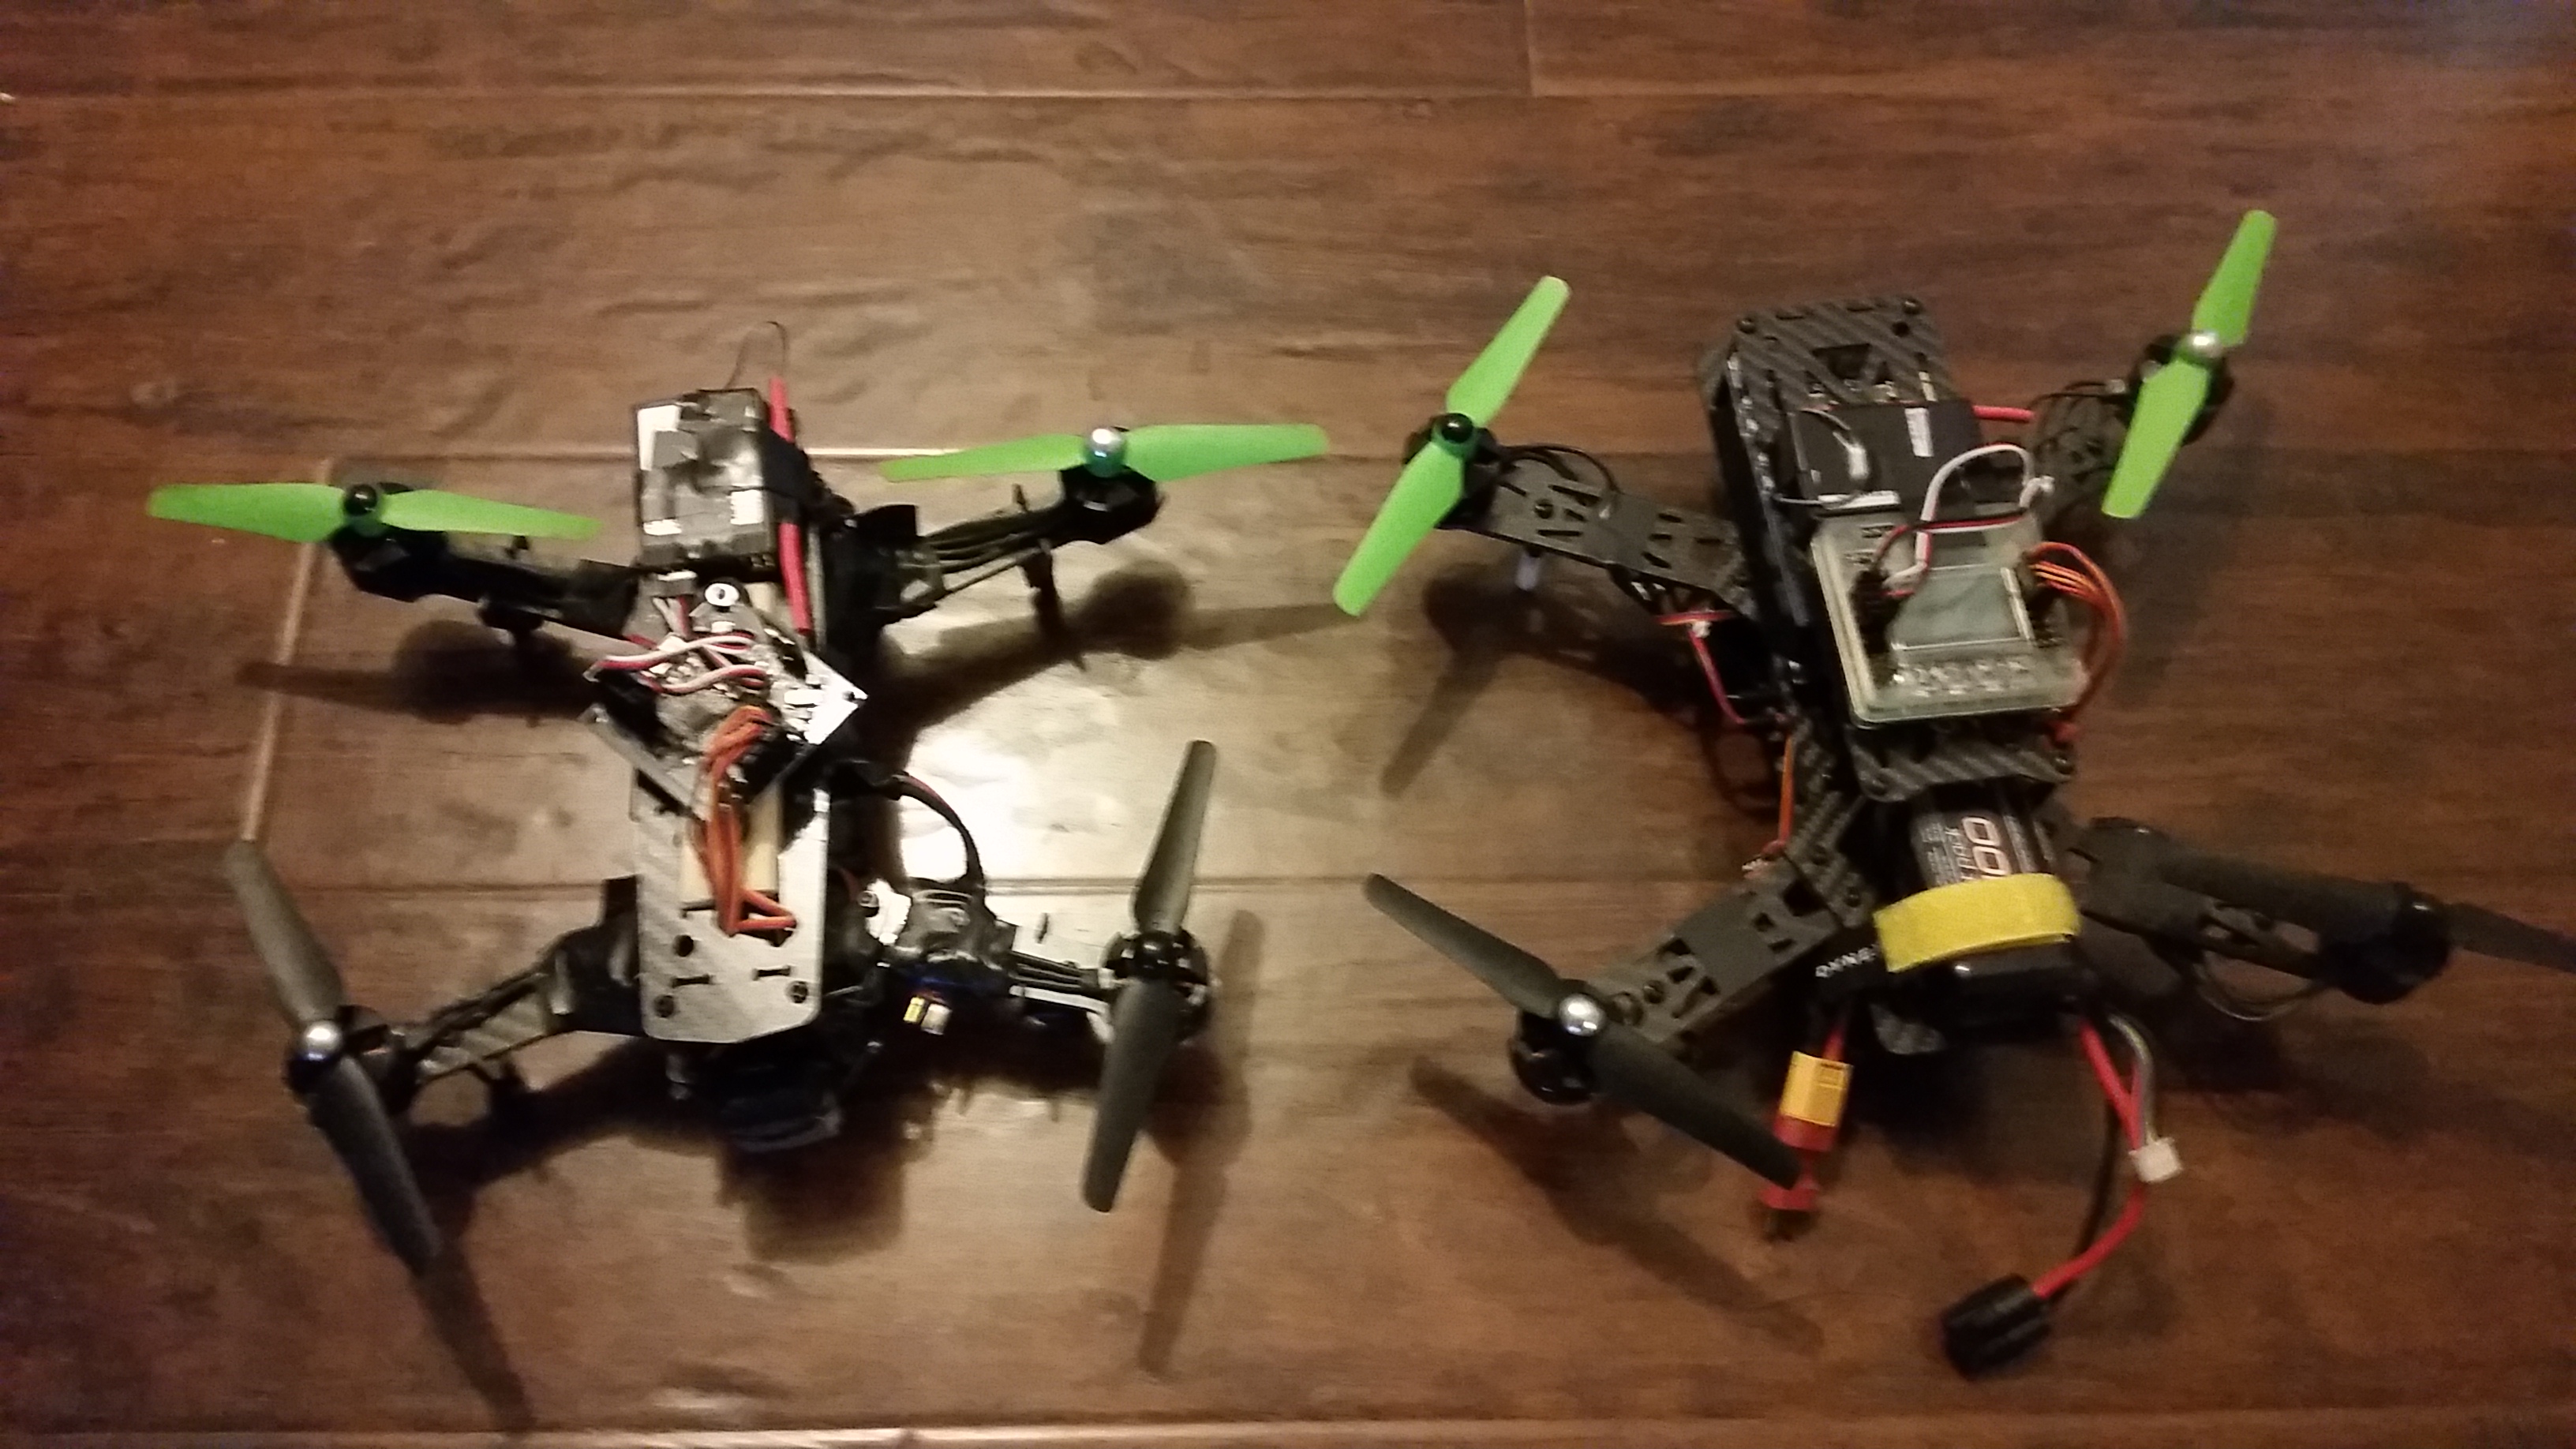
Here are two 250s next to each other. As you can see, one is fatter, and longer than the other overall, despite both being called 250 frames
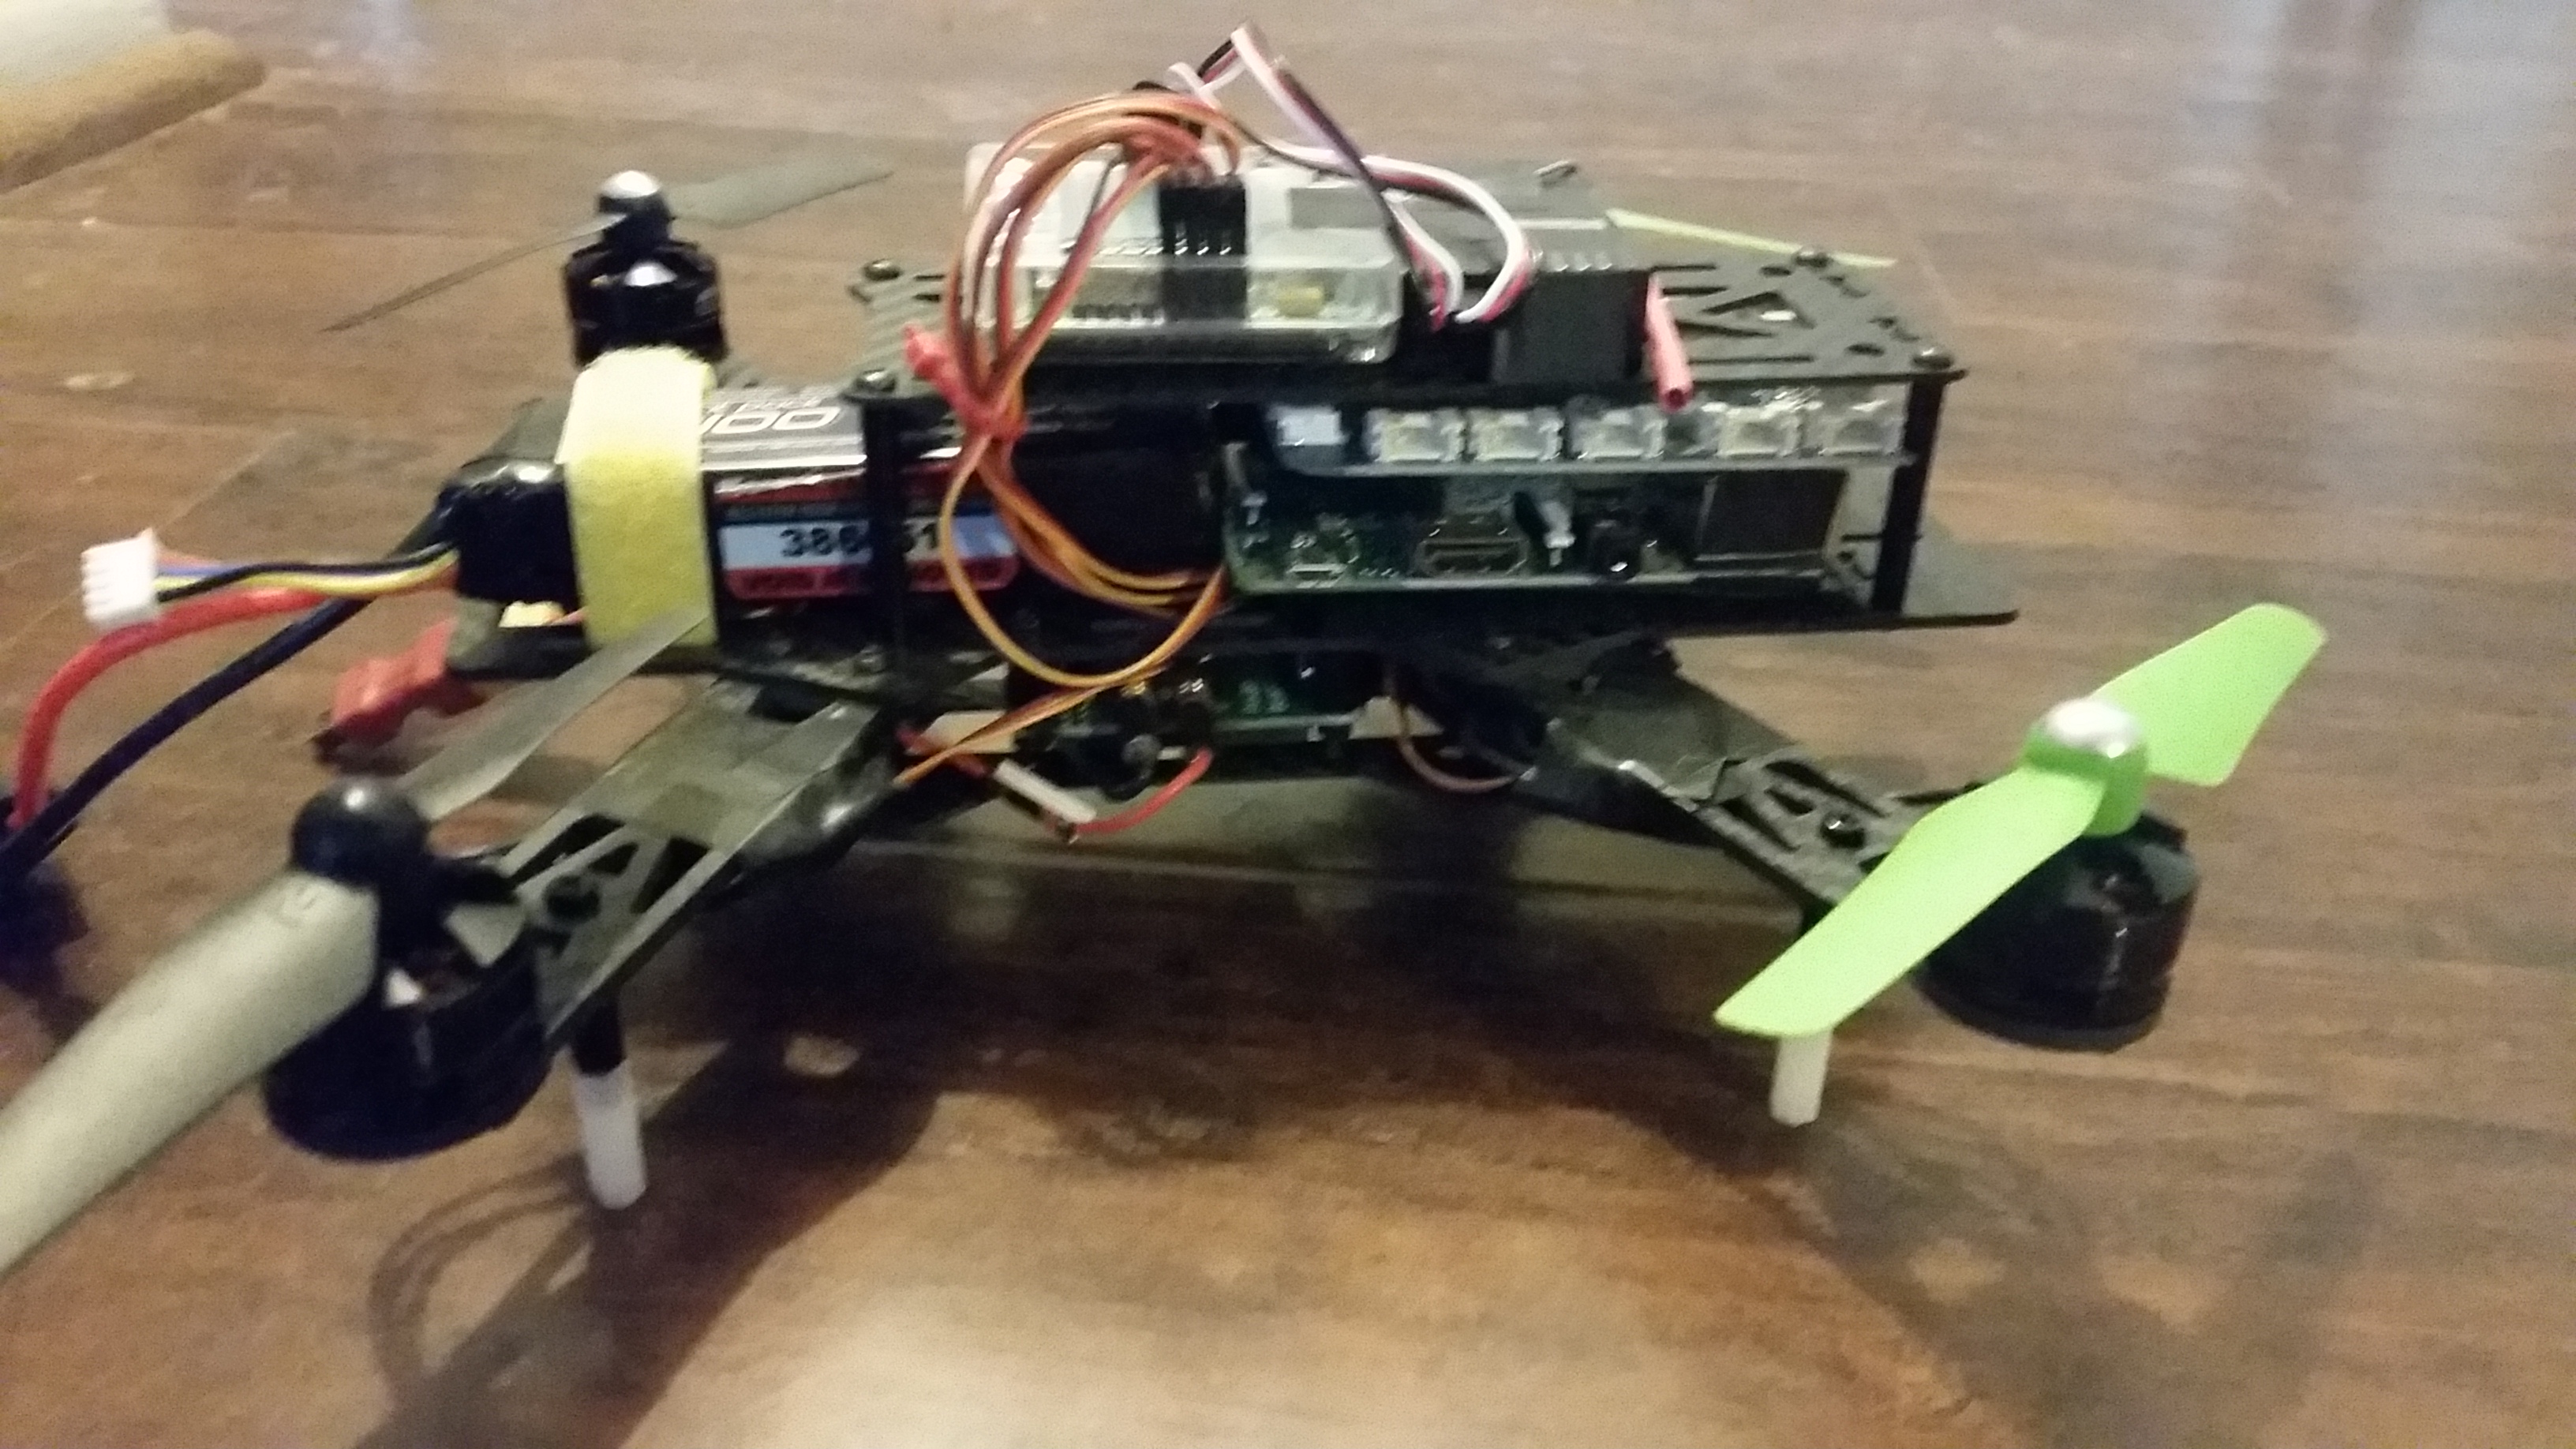
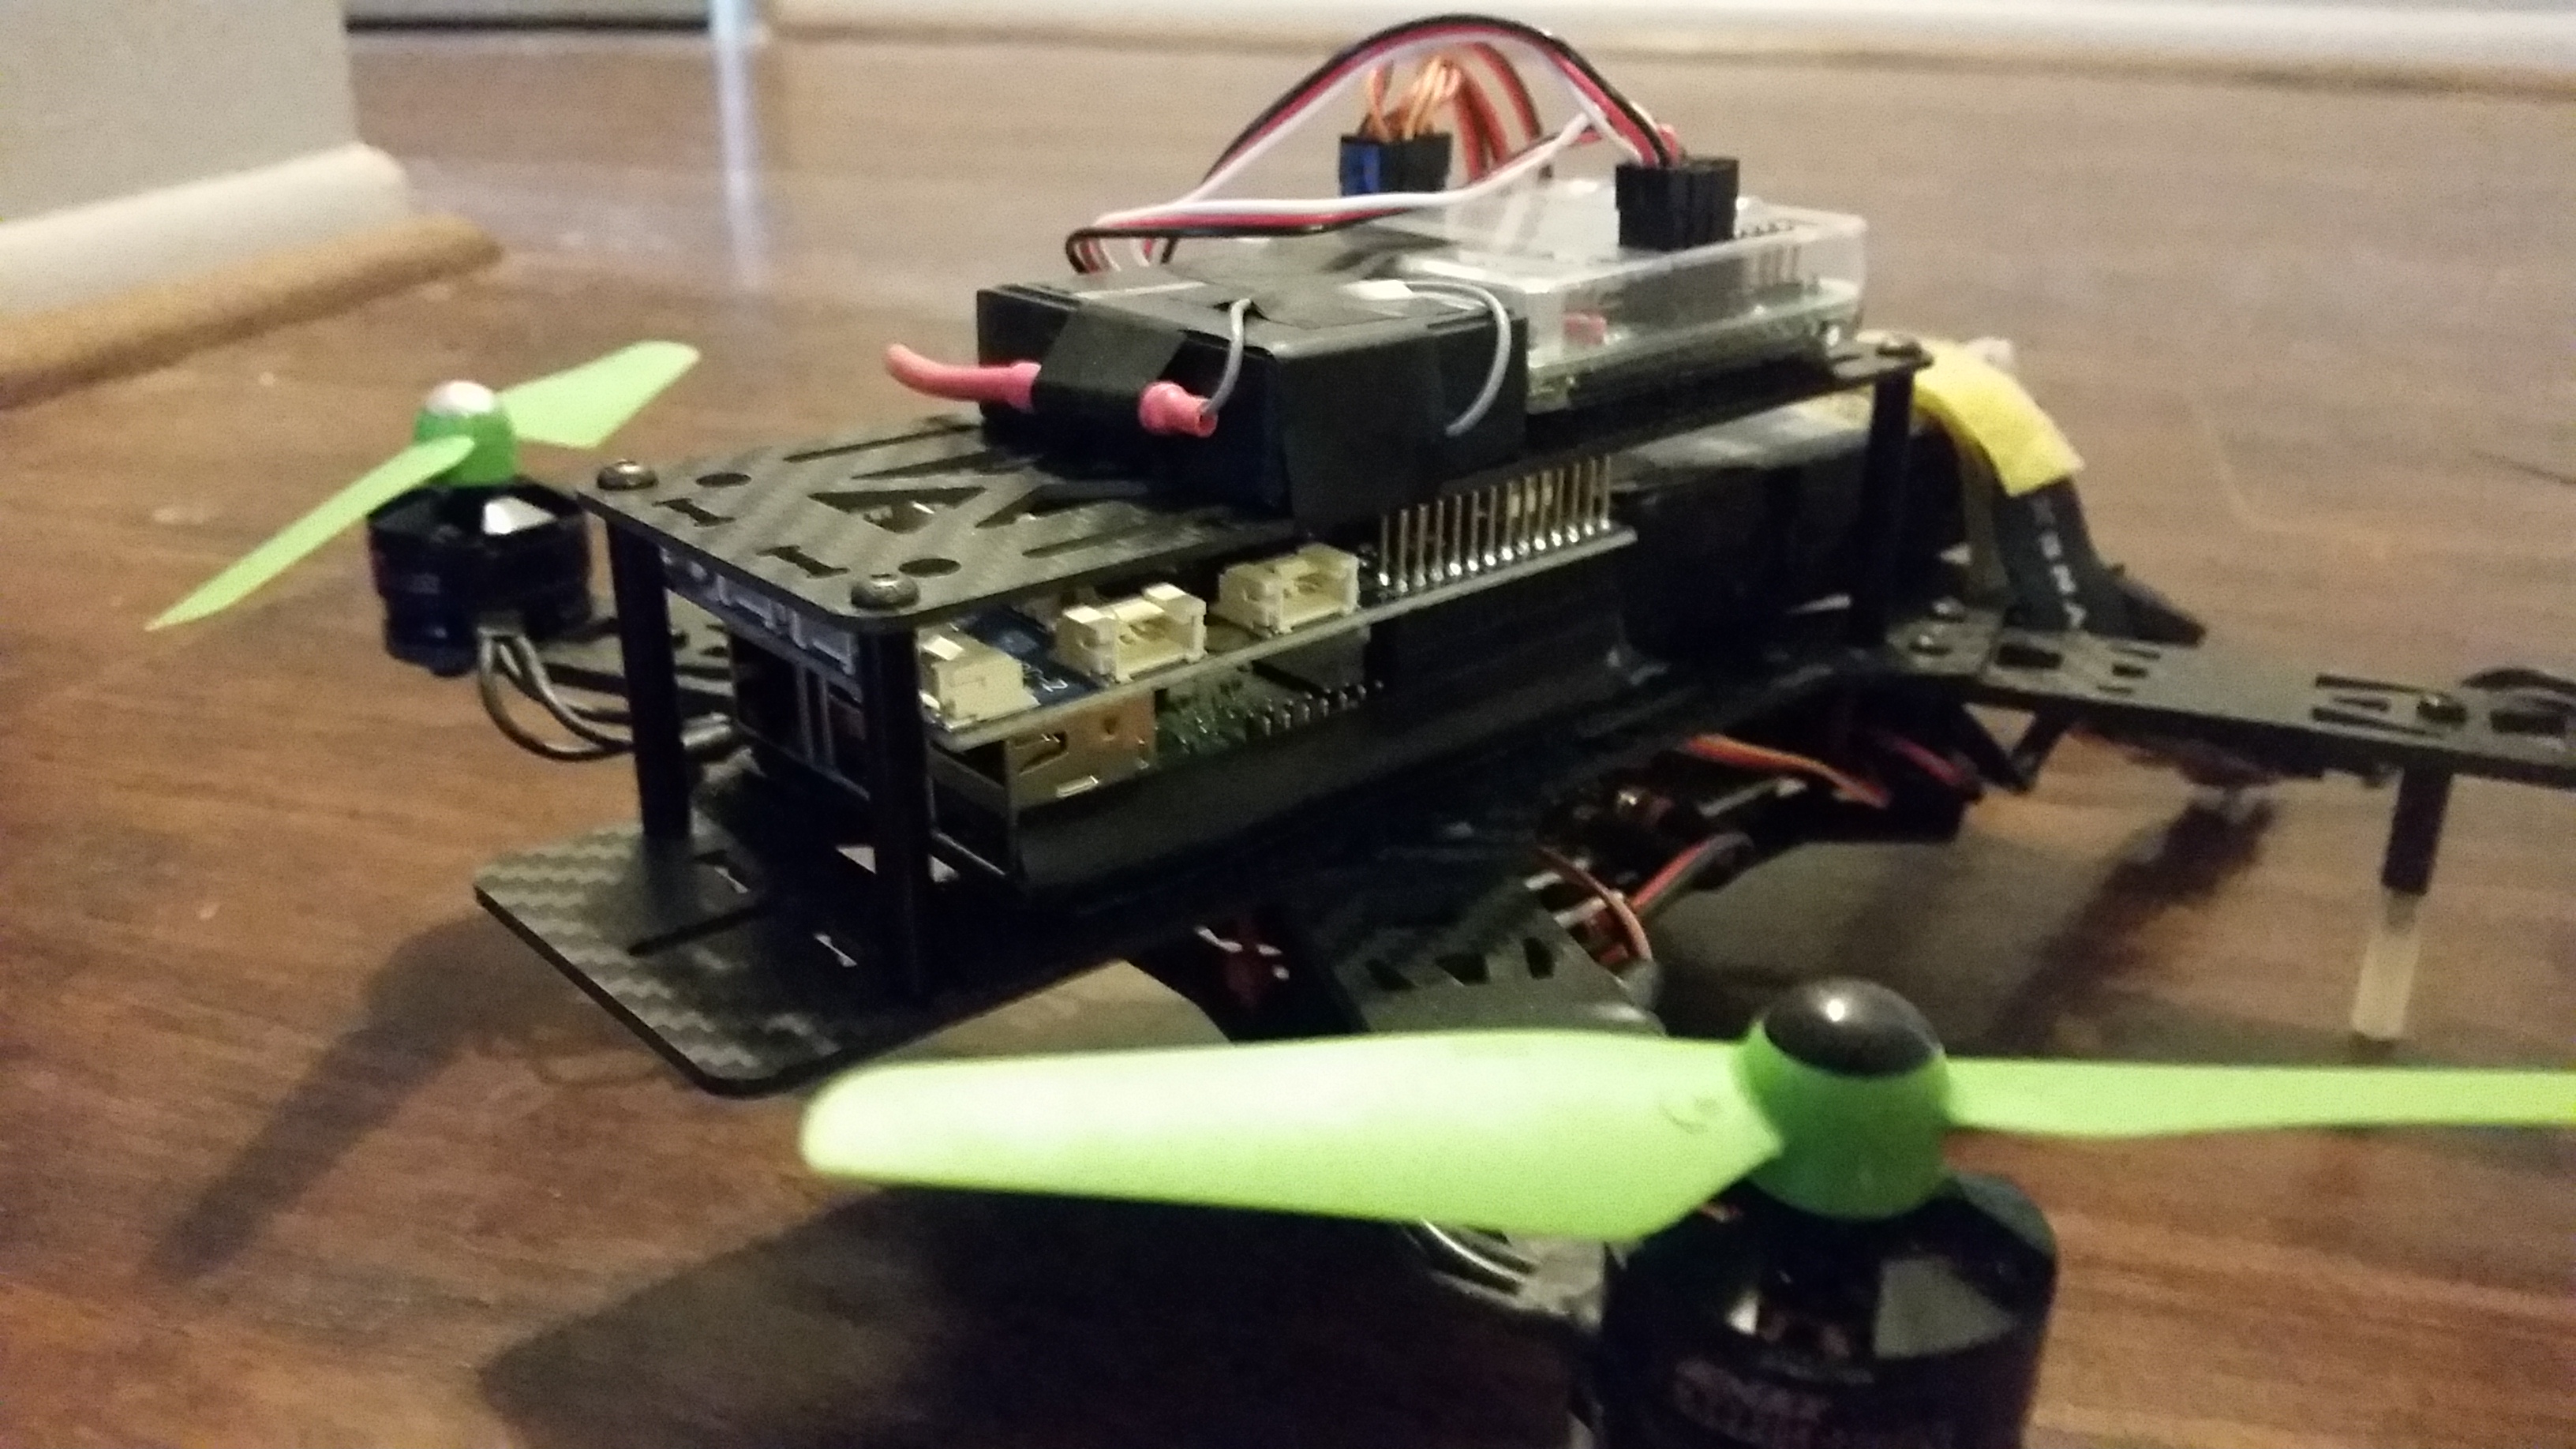
I have gone with the slightly fatter/longer frame in order to fit the Raspberry Pi + Grove Pi onboard, as you can see stuffed in there:
If you are not looking to add things to the frame, and just want to have a remote-controlled quadcopter, get whatever frame you like, otherwise be mindful of your options. Moving forward to the next tutorial, we're going to be talking about parts!
