Supplies Needed - Robotics with Python Raspberry Pi and GoPiGo p.2
Assuming you do not already have your GoPiGo, or all of the accessories, this part of the tutorial is all about the supplies needed. You have two major options at this point, you can either piece together your GoPiGo, or you can buy it all in a kit, and add the camera later if you want it. If it was me, I would choose to piece it together, since you can save up to $50 by doing it this way. Here are all the supplies needed:
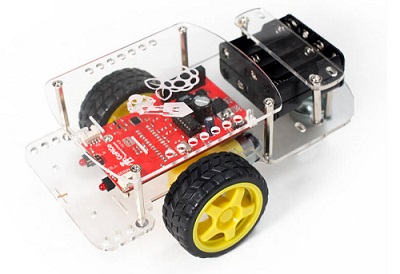
This is the base kit, which comes with the frame, motors, wheels, battery pack, and the GoPiGo board itself.
Raspberry Pi 2 or Raspberry Pi Model B+
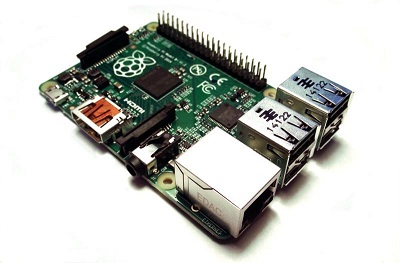
If you already have a regular model B or a model B+ around, feel free to just use that! Otherwise, this is your credit-card-sized computer of awesome-ness.
If you are using or want to use a Raspberry Pi 2, that's fine as well, just make sure to check out this link.
Micro SD Card w/ Adapter 4-8GB+
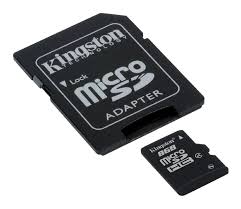
In theory, you should be fine with as low as 4GB, but, if your SD card is not new, you run the risk of still not having space. It's pretty hard to even find 4GB SD cards these days, so go with at least 8 if you ask me, but I would really just go for the 16+. I personally tried to format and mount the GoPiGo image on a 4GB SD card and there wasn't enough space. Operating systems alone will be 2-4+, then you will still want room possibly for larger applications. Space is cheap anyway.
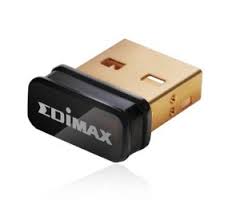
If you're going to go through all of the trouble to create a robot, it sure better be cordless! If you have a USB wifi adapter laying around, feel free to try it. Chances are, it works just fine.
At this point, you have enough for a basic GoPiGo robot set up. The rest of the items on this list are optional. We'll cover using them in this tutorial, but you can skip out on them if you do not want to purchase them.
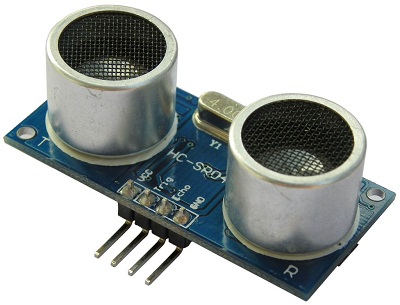
The HC-sr04 ultrasonic distance sensor emits sound from one side and receives the bounced wave back to the other side. Since the speed of sound is a constant, we can then use time to determine how long this process took, and then extrapolate distance from this. Very neat, and very cheap! We can program our robot to constantly check how far away it is from running into objects in front of it, for example. When too close, we can program it to take evasive action. In order to use this, you will need the jumper wires. For this, it would be female-female. Jumper wires are very cheap, you can get 40 female-to-female jumper wires here for $2.53. Another option is to buy the distance sensor from Dexter Industries that already comes with the jumper wires too.
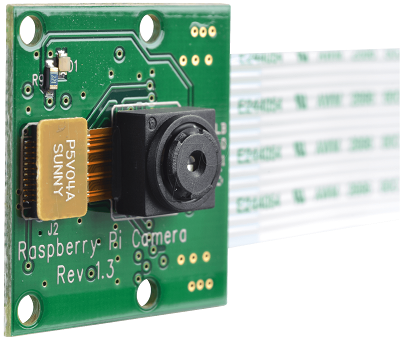
The Raspberry Pi Camera module is a cheap 1080p camera that can take pictures and video. It is very small, about 1 square inch / 25 square millimeters.
We can use the Raspberry Pi Camera module to see what our robot sees.
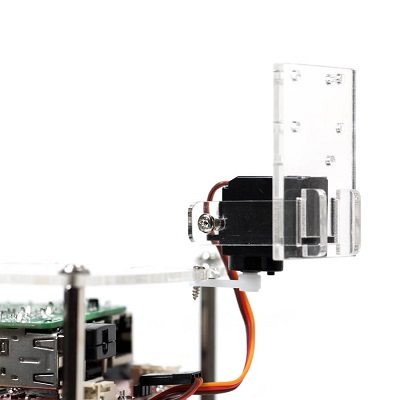
There are many options for servo kits, but this specific kit fits your GoPiGo for sure. The servo package allows you to easily pivot portions of your GoPiGo. For example, we attach our camera and distance sensor to the servo package so we can easily look around at our surroundings.
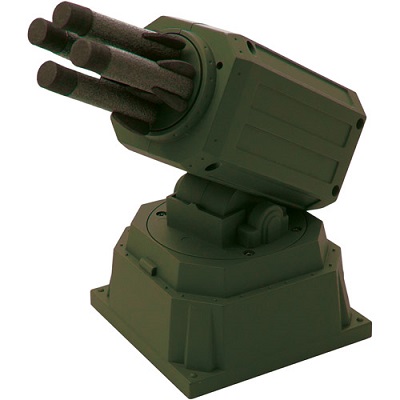
If you're really looking to keep the peace, then we know how powerful mutually assured destruction can be. This USB missile launcher is essential for establishing the status quo in your domicile.
You could also figure out a way to attach the camera and distance sensor to the missile launcher, and use that rather than the servo package. That'd be even better anyway, since the missile launcher moves both side to side and up and down.
Next up, once you have all the parts you need, you're ready to put everything together and set it up. Luckily, Dexter Industries has some great tutorials for building and first setting up the GoPiGo.
Before carrying on to the next tutorial, you're going to need to have your GoPiGo built, turned on, and be able to connect remotely to it. You should be able to find all you need to do this on Dexter Industries.
-
Robotics with Python Raspberry Pi and GoPiGo Introduction
-
Supplies Needed - Robotics with Python Raspberry Pi and GoPiGo p.2
-
Programming Robot Basics - Robotics with Python Raspberry Pi and GoPiGo p.3
-
Programming Remote Control - Robotics with Python Raspberry Pi and GoPiGo p.4
-
Weaponizing our Robot - Robotics with Python Raspberry Pi and GoPiGo p.5
-
Programming Autonomy - Robotics with Python Raspberry Pi and GoPiGo p.6
-
OpenCV with Raspberry Pi Camera Face Detection Tutorial - Robotics with Python Raspberry Pi and GoPiGo p.7
