Remote Access with Raspberry Pi tutorial
Welcome to part 3 of the Raspberry Pi tutorial series. In this part, we're going to cover how we can remotely access our Raspberry Pi, both with SSH and with a remote desktop client. We want to eventually be able to remotely access our Raspberry Pi because much of the "value" of the Raspberry Pi is its size, and that it can be put in a variety of places that we might not want to have a keyboard, mouse, and monitor attached to it at all times and we probably don't want to have to carry over all of this stuff when we do want to access it.
First, let's connect via shell (SSH). Open the terminal on the Raspberry Pi (control+alt+t), and type ifconfig. If you're connected via wifi, then go under the wlan section, and look for your inet address. This will be your local ip, something like 192.168.XX.XXX. We can use this to connect via SSH (user: pi, pass: raspberry), BUT we first have to enable the SSH server. To do this, type sudo raspi-config. Here, we can do quite a few things, but let's head into option #5 interfacing options, next choose the 2nd option forSSH and enable the server. Once this is done, you can shell into the Raspberry Pi.
On Mac and Linux, to do this, open a terminal and type: ssh pi@192.168.XX.XXX, where you replace the ip address with the one for your Raspberry Pi.
On Windows, you will need to use an SSH client. I recommend PuTTY . Once downloaded, you can open PuTTy, fill in "host name" field with your Pi's local ip, hit enter, and then you will be asked for a username and password.
When successful, you should have something like:
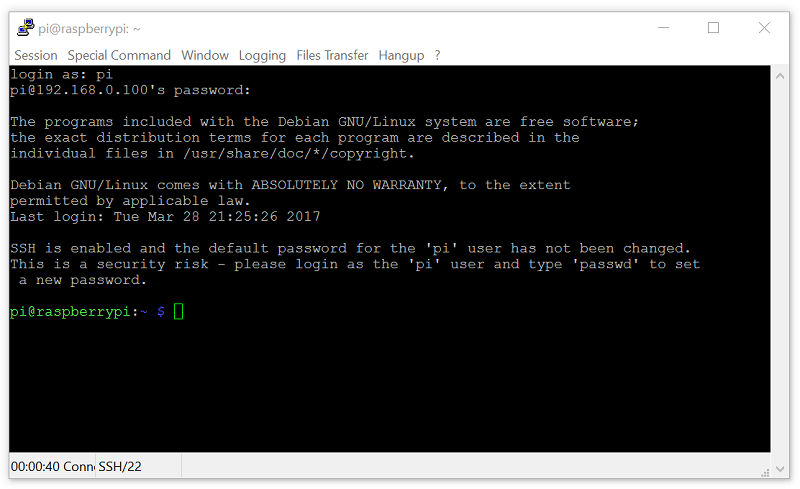
This is identical to the terminal you accessed earlier from the Pi's desktop.
Now, sometimes, you might really want to get access to the desktop instead of just the terminal. To do this, you need the "host" to have remote desktop capabilities, as well as whatever remote PC you attempt to use to access it. First, let's deal with the Raspberry Pi. We're going to install xrdp.
sudo apt-get remove xrdp vnc4server tightvncserver
sudo apt-get install tightvncserver
sudo apt-get install xrdp
Now let's deal with the computer from which you plan to connect your Raspberry Pi.
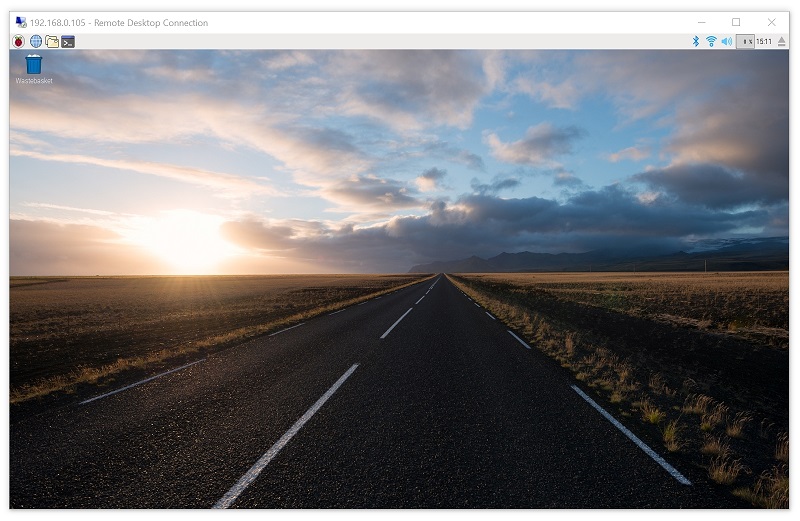
For Mac and Windows, you can use the Microsoft application called Remote Desktop. On linux, you can use grdesktop (sudo apt-get install grdesktop). All three of these examples are going to act the same way. Run them, fill in the IP address of the Raspberry pi, the username, the password, and connect!
When done, you should have something like:
With the SSH server turned on, you will likely be seeing warnings every time you log in that your password is still the default password. The SSH server is turned off by default because, as the Pi has gained popularity, people who might not realize the security risk are using it in places like their homes and businesses. All it takes is someone to connect to your wifi, scan for other local ips, and try them all with default usernames and passwords for various devices, like the Raspberry Pi, and boom they're in. If you want to change your password, you can do sudo raspi-config, and it's the first option.
In the next tutorial, we're going to have a crash course in navigating the terminal, since this is where we'll be spending most of our time.
-
Introduction - Raspberry Pi tutorial
-
Remote Access with Raspberry Pi tutorial
-
Terminal Navigation - Raspberry Pi tutorial
-
Raspberry Pi Camera Module - Raspberry Pi tutorial
-
GPIO (General Purpose Input Output) Pins - Raspberry Pi tutorial
-
Input from a Sensor via GPIO - Raspberry Pi tutorial
-
Garage Stoplight GPIO Project - Raspberry Pi tutorial
