Displaying images with PyGame
In this PyGame tutorial, we cover how to display custom-created game images to the screen. You can also draw objects to the screen using coordinates, which we will cover later. Here, we've created some award-winning graphics that we definitely want in our game, so we want to know how to get it to show up.
import pygame
pygame.init()
display_width = 800
display_height = 600
gameDisplay = pygame.display.set_mode((display_width,display_height))
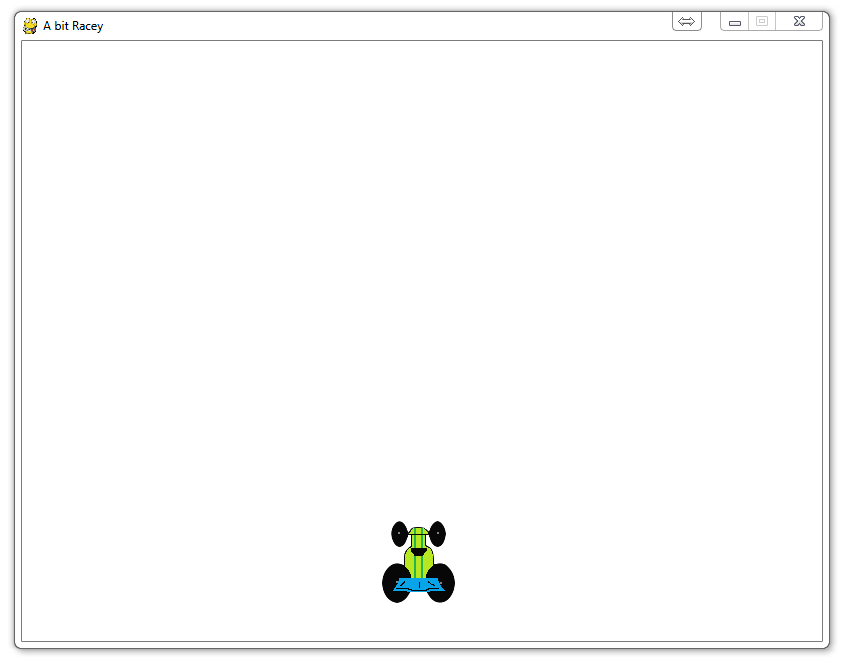
pygame.display.set_caption('A bit Racey')
black = (0,0,0)
white = (255,255,255)
clock = pygame.time.Clock()
crashed = False
carImg = pygame.image.load('racecar.png')
def car(x,y):
gameDisplay.blit(carImg, (x,y))
x = (display_width * 0.45)
y = (display_height * 0.8)
while not crashed:
for event in pygame.event.get():
if event.type == pygame.QUIT:
crashed = True
gameDisplay.fill(white)
car(x,y)
pygame.display.update()
clock.tick(60)
pygame.quit()
quit()
So, here we've gone ahead and embedded the new code in our existing script. First, we use:
display_width = 800
display_height = 600

gameDisplay = pygame.display.set_mode((display_width,display_height))
The functioning here is the same as before, but this time we're not hard coding the resolution. We want to use this method so that we can reference the variables. We're going to see how useful that can be already in this script, but even more later on.
Then, here:
black = (0,0,0)
white = (255,255,255)
We're defining our colors, using RGB formatting. If you want to know a bit more about RGB, check out the video.
Next up:
carImg = pygame.image.load('racecar.png')
Here, we load the racecar.png image to our carImg variable. racecar.png is an image that I have personally created. See the video for some tips to create an image, pull one from Google Images, or make your own. Chances are, you will do better than I did!
def car(x,y):
    gameDisplay.blit(carImg, (x,y))
Now, we define our car function, which really just places the car to the display. "Blit" basically just draws the image to the screen, but we still have yet to fully show it to the display. In graphics, generally, there is a lot done in the background, and only when every update is done is when the screen is visually updated.
x =  (display_width * 0.45)
y = (display_height * 0.8)
Here, we've defined the starting points for our car. See how we used out previously-defined variables? We're already seeing how this could be useful, especially if we EVER want to change our resolution. A lot of people start out writing programs, thinking that some of the variables will just never be changed. I've done it a few times. Always wrong and regretful.
Now, within our while loop, we see the addition of: gameDisplay.fill(white)
car(x,y)
Here, we've filled our display with a color, white. What this does is cover everything in white. Paint the game white, so-to-speak. This will cover over any existing stuff. After that, we run our car function to draw the car to the screen. Always keep in mind the order here. If you drew the car first, then called the gameDisplay.fill function, you would have just covered your car and it would not show up.
Also, if you'd like the same image I used:

There exists 1 quiz/question(s) for this tutorial. for access to these, video downloads, and no ads.
-
Introduction to PyGame
-
Displaying images with PyGame
-
Moving an image around in PyGame
-
Adding boundaries
-
Displaying text to PyGame screen
-
Drawing objects with PyGame
-
Crashing
-
PyGame Score
-
Drawing Objects and Shapes in PyGame
-
Creating a start menu
-
PyGame Buttons, part 1, drawing the rectangle
-
PyGame Buttons, part 2, making the buttons interactive
-
PyGame Buttons, part 3, adding text to the button
-
PyGame Buttons, part 4, creating a general PyGame button function
-
PyGame Buttons, part 5, running functions on a button click
-
Converting PyGame to an executable
-
Adding a pause function to our game and Game Over
-
PyGame Icon
-
Sounds and Music with PyGame
