Deep Dream Frames - Unconventional Neural Networks in Python and Tensorflow p.8
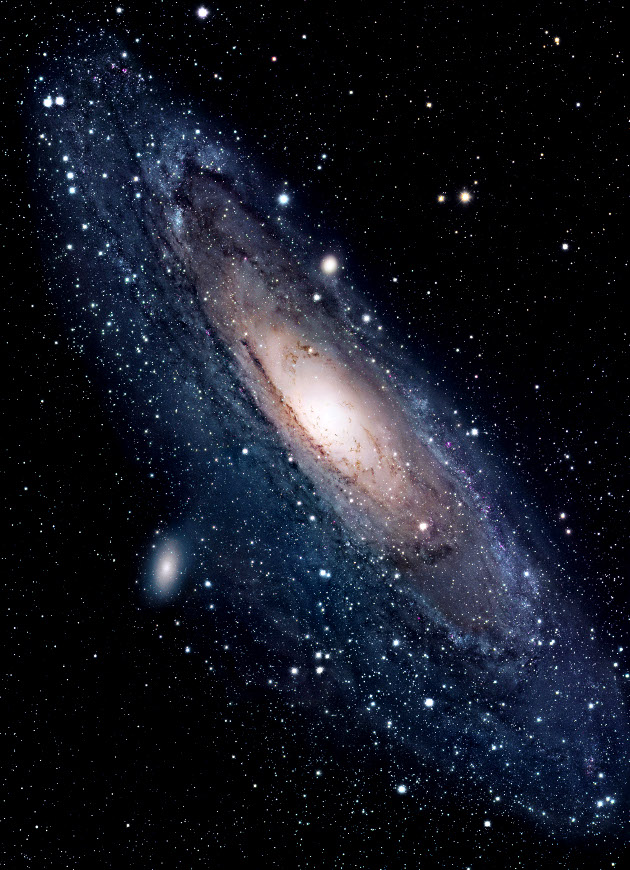
What's going on everyone and welcome to part 8 of our "unconventional" neural networks series. We've working with deep dream, making cool single images like starting from:
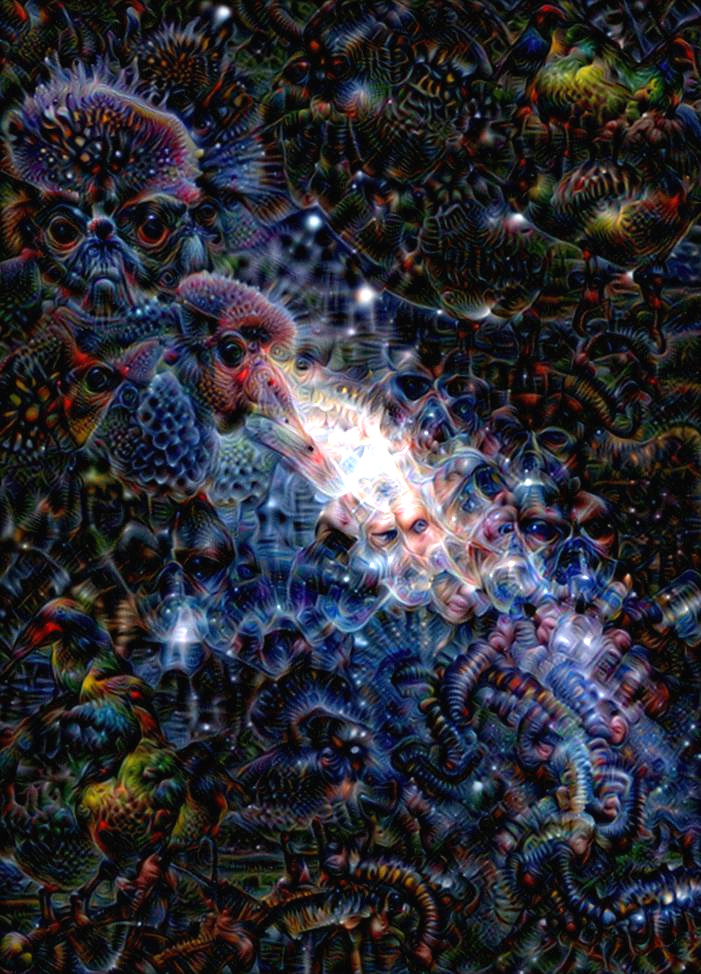
After some iterations of a dream:
Interestingly though, we can actually treat each deep dream image as a frame in a video. Then, we could do quite a few things. One option is to just slowly do iterations where each iteration or repeat is a frame. We could also slowly change layers. Another option is to slowly zoom in. I find this creates very interesting results. We can also take movies that already exist, and do a deep dream on each frame. Unfortunately, this tends to produce volatile results, where zooming in slowly seems to work much better.
We're going to need a dream location to store all of the frames. To do this, I have a dream directory, and then in there I am creating another directory with the dream's name. In this case, I am going to call it starry_night. Inside that directory, I have the starting image, which is the 800x450 resolution starry night image. I have copied that into here, and then renamed it as img_0. Now that we have that setup, let's get back to code.
To make this dream, I am going to make a new file, calling it dream_on.py. To begin, let's make some imports:
from deepdreamer import model, load_image, recursive_optimize
import numpy as np
import PIL.Image
import cv2
import os
Then, we'll specify which layer we're going to be on, dream name, sizes, and some other starting values:
layer_tensor = model.layer_tensors[3]

dream_name = 'starry_night'

x_size = 800
y_size = 450

created_count = 0
max_count = 50
Now, let's talk about how we're going to actually do this. Rather than doing many repeats, we will just do one repeat per frame. Think of each "frame" as a repeat itself. We need to come up with some general number of iterations, but, again, this varies by layer. For the lower layers, I will go with 15, for the higher layers, maybe 30.
Then, each "frame," we could just let it morph slowly, but this can be somewhat boring. I like to let it both morph and zoom in over time. So, for each frame, we will also zoom in ever so slightly. I do not know of a great way to zoom in, so, what I will do is have us literally chop off the edges of the image, then resize the image back to the original shape. This will give us the visual changes of a zoom. Let's do the code now:
for i in range(0, 9999999999999999):

    if os.path.isfile('dream/{}/img_{}.jpg'.format(dream_name, i+1)):
        print('{} already exists, continuing along...'.format(i+1))
What's up with this ugliness? If you produce a lot of frames, which you will need to if you want to make a long video (1 minute, at 30fps, will require 1800 frames), you will find that the image tends to get dark fast. To accomodate this, we can adjust the RGB total values a bit, but we always will be balancing this. Also, if we intend to change the layers, we need to start/stop this. With the code, we're going to just simply create max_count number of frames, and stop. then we can adjust the script a bit, and repeat. The script will just pick back up where it left off. Continuing along with our code:
for i in range(0, 9999999999999999):

    if os.path.isfile('dream/{}/img_{}.jpg'.format(dream_name, i+1)):
        print('{} already exists, continuing along...'.format(i+1))

    else:
        img_result = load_image(filename='dream/{}/img_{}.jpg'.format(dream_name, i))

        # this impacts how quick the "zoom" is
        x_trim = 2
        y_trim = 1

        img_result = img_result[0+x_trim:y_size-y_trim, 0+y_trim:x_size-x_trim]
        img_result = cv2.resize(img_result, (x_size, y_size))
The above does the "zoom," where we shop the image slightly, then restore to the original size, giving us a zooming effect.
Next, let's modify the RGB values to combat dimming over time:
        img_result[:, :, 0] += 2  # reds
        img_result[:, :, 1] += 2  # greens
        img_result[:, :, 2] += 2  # blues
With +=2, the image will still slowly get darker in time. With +=3, it will get brighter in time. Depending on the image you start with, your numbers may vary a bit. You can adjust the individual colors to not make changes too abrupt, and also mold how your deep dream movie unfolds. You could also automate this, doing a check for average brightness, and trying to keep it to some optimal brightness. There are many things you can change here and do better, same with changing layers automatically...etc. What I've shown here is just a simple example. Continuing along, the rest of the code is basically the same as our previous dream image code:
        img_result = np.clip(img_result, 0.0, 255.0)
        img_result = img_result.astype(np.uint8)

        img_result = recursive_optimize(layer_tensor=layer_tensor,
                                        image=img_result,
                                        num_iterations=15,
                                        step_size=1.0,
                                        rescale_factor=0.7,
                                        num_repeats=1,
                                        blend=0.2)

        img_result = np.clip(img_result, 0.0, 255.0)
        img_result = img_result.astype(np.uint8)
        result = PIL.Image.fromarray(img_result, mode='RGB')
        result.save('dream/{}/img_{}.jpg'.format(dream_name, i+1))
Then we just end with a:
        created_count += 1
        if created_count > max_count:
            break
Full code for dream_on.py:
'''
Some info on various layers, so you know what to expect
depending on which layer you choose:

layer 1: wavy
layer 2: lines
layer 3: boxes
layer 4: circles?
layer 6: dogs, bears, cute animals.
layer 7: faces, buildings
layer 8: fish begin to appear, frogs/reptilian eyes.
layer 10: Monkies, lizards, snakes, duck

Choosing various parameters like num_iterations, rescale,
and num_repeats really varies on which layer you're doing.


We could probably come up with some sort of formula. The
deeper the layer is, the more iterations and
repeats you will want.

Layer 3: 20 iterations, 0.5 rescale, and 8 repeats is decent start
Layer 10: 40 iterations and 25 repeats is good.
'''
from deepdreamer import model, load_image, recursive_optimize
import numpy as np
import PIL.Image
import cv2
import os

layer_tensor = model.layer_tensors[3]

dream_name = 'starry_night'

x_size = 800
y_size = 450

created_count = 0
max_count = 50
for i in range(0, 9999999999999999):

    if os.path.isfile('dream/{}/img_{}.jpg'.format(dream_name, i+1)):
        print('{} already exists, continuing along...'.format(i+1))

    else:
        img_result = load_image(filename='dream/{}/img_{}.jpg'.format(dream_name, i))

        # this impacts how quick the "zoom" is
        x_trim = 2
        y_trim = 1

        img_result = img_result[0+x_trim:y_size-y_trim, 0+y_trim:x_size-x_trim]
        img_result = cv2.resize(img_result, (x_size, y_size))

        # Use these to modify the general colors and brightness of results.
        # results tend to get dimmer or brighter over time, so you want to
        # manually adjust this over time.

        # +2 is slowly dimmer
        # +3 is slowly brighter
        img_result[:, :, 0] += 2  # reds
        img_result[:, :, 1] += 2  # greens
        img_result[:, :, 2] += 2  # blues

        img_result = np.clip(img_result, 0.0, 255.0)
        img_result = img_result.astype(np.uint8)

        img_result = recursive_optimize(layer_tensor=layer_tensor,
                                        image=img_result,
                                        num_iterations=15,
                                        step_size=1.0,
                                        rescale_factor=0.7,
                                        num_repeats=1,
                                        blend=0.2)

        img_result = np.clip(img_result, 0.0, 255.0)
        img_result = img_result.astype(np.uint8)
        result = PIL.Image.fromarray(img_result, mode='RGB')
        result.save('dream/{}/img_{}.jpg'.format(dream_name, i+1))

        created_count += 1
        if created_count > max_count:
            break
Sometimes, it's fun to purposefully guide your dream. That said, they can take verrrry long times to create, so making it so that it can run for longer periods of time without your presence can be useful.
One option we have is to let random take over with the colors, at least this way you wont need to hop in so often to take over. So you could do a
import random
Then in the RGB edits do:
        img_result[:, :, 0] += random.choice([3, 4])  # reds
        img_result[:, :, 1] += random.choice([3, 4])  # greens
        img_result[:, :, 2] += random.choice([3, 4])  # blues
This should likely balance a bit better over time. Different images will need a different range, so you will have to find yours.
Next, you could automatically change layers, maybe with a random chance of 1 in 500 or something and then you could either progress through the layers of the network, or pick randomly.
I am going to leave all of that up to you to decide how you want to do it. You can also purposefully guide the colors. If you like purple, favor the red and blue, and let the green slide for a bit...etc. You can very slowly mold things, or just let random take over.
Once you have a bunch of frames, you're going to want to make a movie out of it. In the next tutorial, I will show you how you can do exactly that!
-
Generative Model Basics (Character-Level) - Unconventional Neural Networks in Python and Tensorflow p.1
-
Generating Pythonic code with Character Generative Model - Unconventional Neural Networks in Python and Tensorflow p.2
-
Generating with MNIST - Unconventional Neural Networks in Python and Tensorflow p.3
-
Classification Generator Training Attempt - Unconventional Neural Networks in Python and Tensorflow p.4
-
Classification Generator Testing Attempt - Unconventional Neural Networks in Python and Tensorflow p.5
-
Drawing a Number by Request with Generative Model - Unconventional Neural Networks in Python and Tensorflow p.6
-
Deep Dream - Unconventional Neural Networks in Python and Tensorflow p.7
-
Deep Dream Frames - Unconventional Neural Networks in Python and Tensorflow p.8
-
Deep Dream Video - Unconventional Neural Networks in Python and Tensorflow p.9
-
Doing Math with Neural Networks - Unconventional Neural Networks in Python and Tensorflow p.10
-
Doing Math with Neural Networks testing addition results - Unconventional Neural Networks in Python and Tensorflow p.11
-
Complex Math - Unconventional Neural Networks in Python and Tensorflow p.12
